Today I want to present how You can create the Vintage Photography style in today’s time. Before going into detail of the characteristics of this style, I want to present the original work. How Vintage Photography was created and which cameras they used. The history of photography is probably a lot longer than You think and although photography has been more popular and became a vital part of the culture in the early 20th century, there have been a lot earlier attempts at the art of photography.
So let’s try to bring Vintage Photography in the modern world and see how it can improve Your understanding of this beautiful way of capturing the world.
Early Stages of Vintage Photography
While Photography has been established as a term and profession in the mid 19th century, there have been a few early attempts at creating some sort of “photography”.
Due to its characteristics, it can not exactly be described as photography, but the experiments have definitely had a big impact in creating permanent images.
Camera Obscura (~1490)
You may have heard that term before, but what does it actually mean?
The camera obscura has been described by no one less than Leonardo Da Vinci himself around 1490. It is not a real camera, but more a principle and describes that images can be projected through a tiny hole.
Those images weren’t permanent as there was no medium to save the images, but it was the ancestor of pin-hole cameras and modern cameras still use the same principle, which is why the term “camera” has been kept.
As a little additional fact, our eyes function after the same basic principle.
Silver Nitrate (~1614)
As described before, there was no medium to save the images on. The camera obscura was used in bright light and the “camera” only had a live-view. Therefore it was not very practical in the way we use photography today.
In 1614, the Dutch scientist Angelo Sala experimented with silver nitrate and described when exposed to the sun, that the silver nitrate turns black.
The next step to a real camera as we know it now has been made, although only in theory without practical use yet.
Exposed Chemicals (17th Century to Mid 18th Century)
In addition to Angelo Sala, many other chemists continued to find chemicals that worked similarly and changed its color when exposed to the sun.
Robert Boyle is a scientist who worked intensively with silver chloride and found out that it turned black when exposed.
Johann Heinrich Schultz was one of the first scientists who did more specific experiments where he exposed only parts of silver salts and observed that he can turn certain areas darker.
Combining Chemicals and Camera Obscura (19th Century)
So far both, the camera obscure and chemicals were developed independently and there were no efforts to combine both discoveries.
Due to the unstable process of the chemicals and the bad handling of the camera obscura, it wasn’t really worth to mix those things together and it took until the early 19th century, that scientists tried to combine both effects.
For the first time, what we would call a “photographic process” has been discovered and further pursued.
Thomas Wedgewood was one of the forefathers of the photographic process and published his work in a paper called: “An Account of a method of copying Paintings upon Glass, and of making Profiles, by the Agency of Light upon Nitrate of Silver”
Unfortunately, his images weren’t permanent but vanished fast. Still, it was the first attempts to create temporary images in a for that we would call “photography”.
Certainly A milestone of Vintage Photography.
The First Photograph (1827)
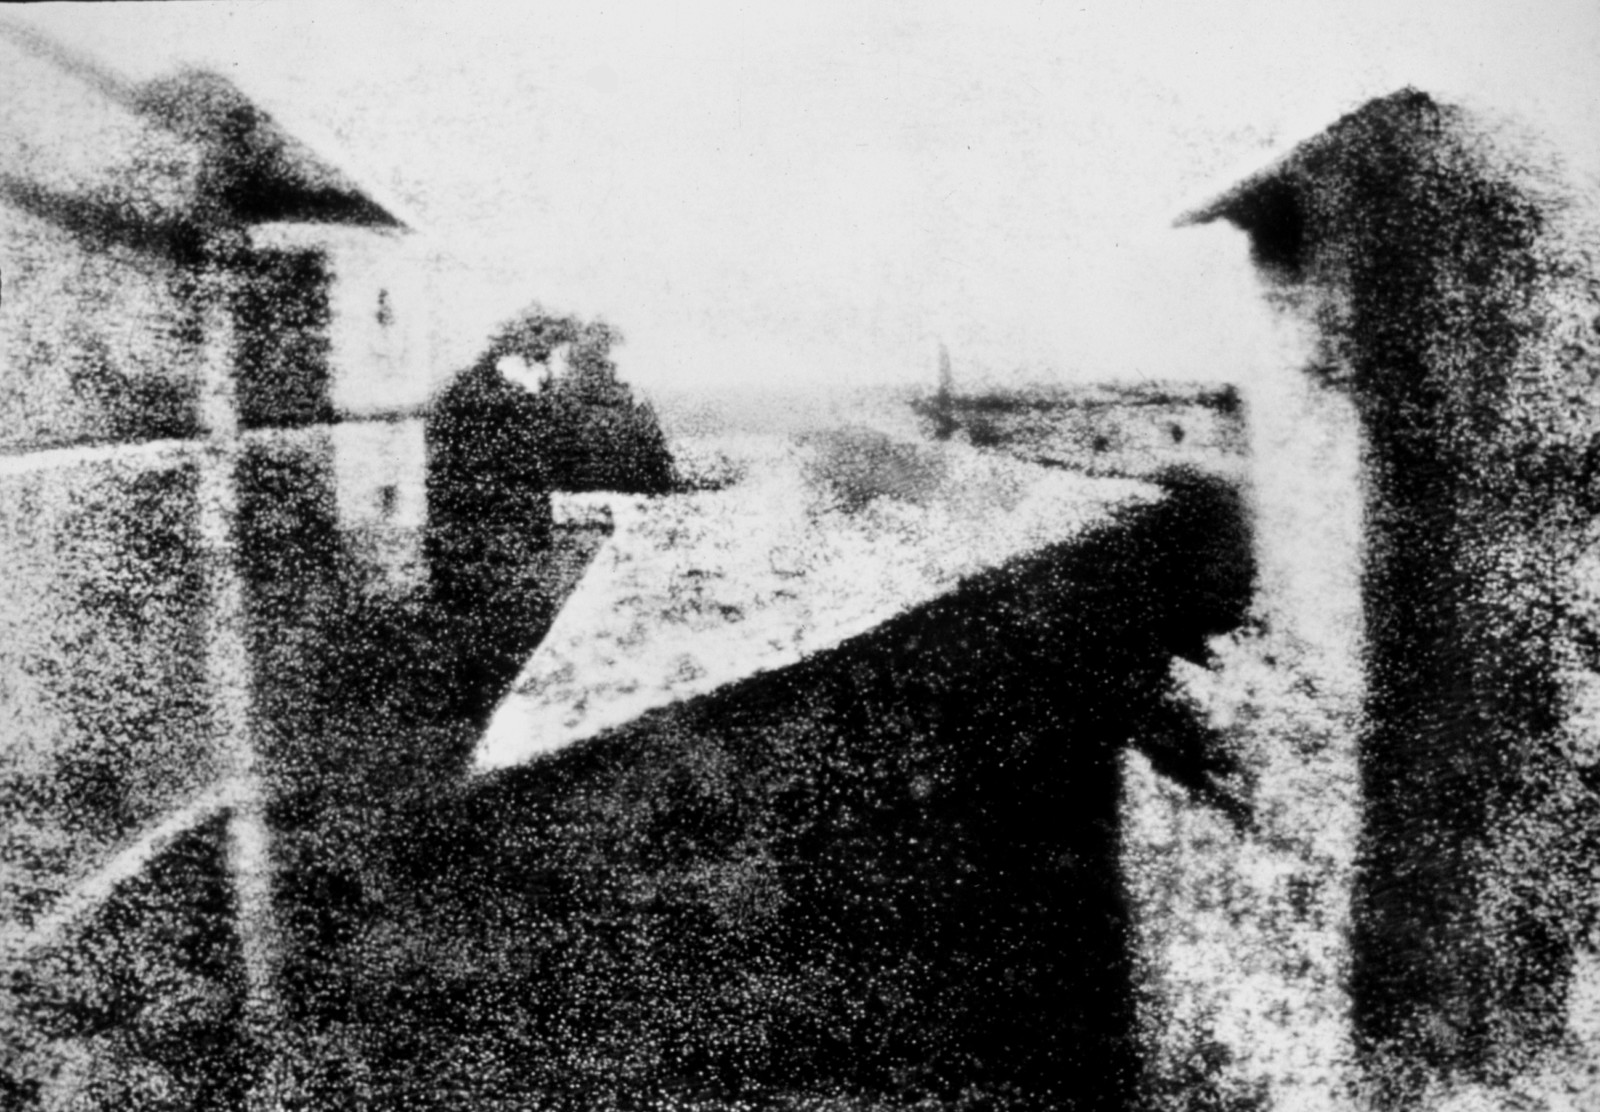
Nicéphore Niépce was the first human to produce a permanent photograph, that is still visible today.
He photographed the outside of the family house in France, 1827 and what may not have been of tremendous quality, describes the birth of modern photography.
Here is an enhanced version of his photograph.
Louis Daguerre (19th Century)
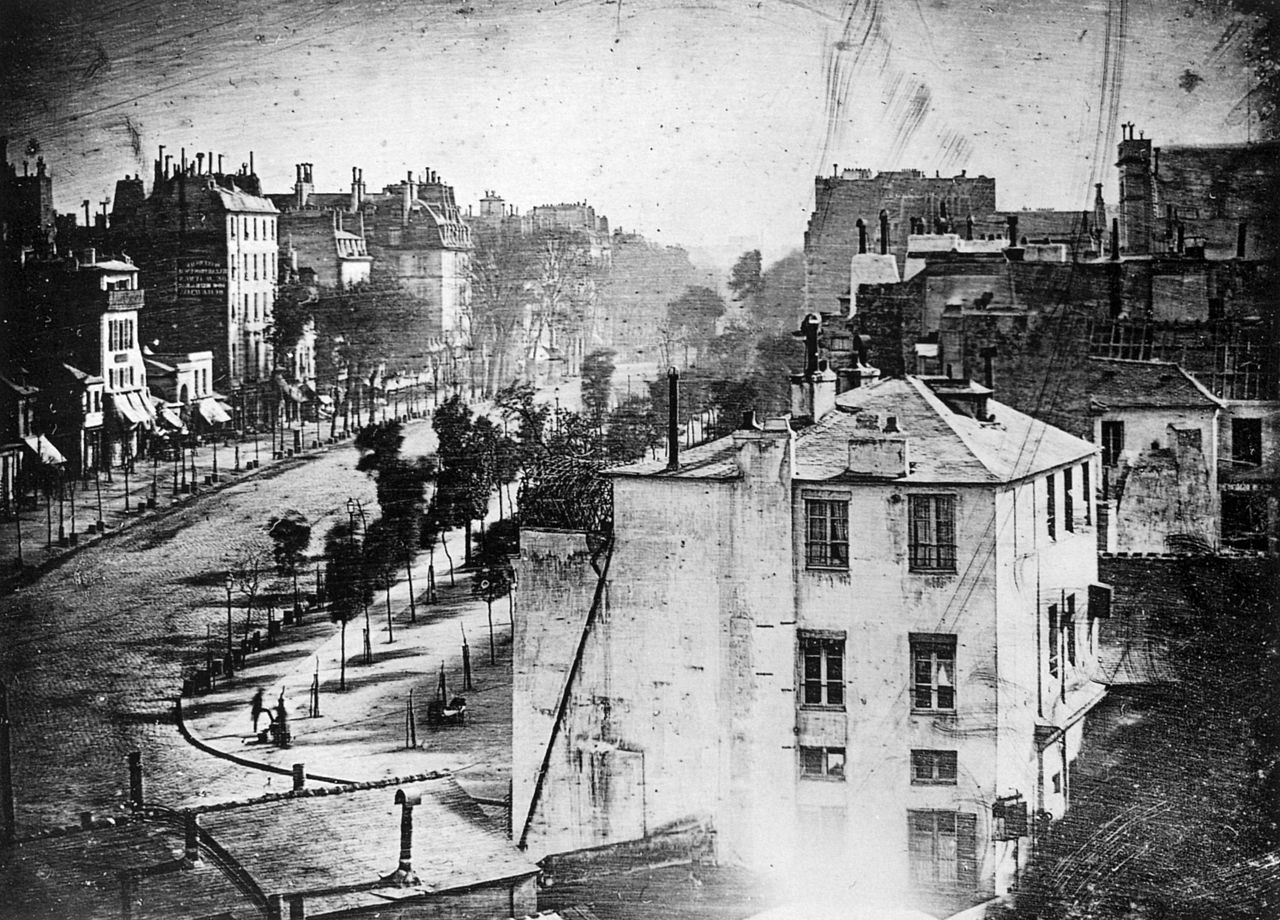
Another name that is strongly connected to Vintage Photography is Louis Daguerre. Together with Niépce he developed the photographic technique and made huge progress in reducing the shutter speed, which in returns increased the quality.
The photographic process that he invented is called the Daguerreotype.
Below You can see the first vintage photograph of a candid person.
The birth of Street Photography?
Further Progress in the 19th Century
After the first breakthroughs were made, the interest in photography increased and almost every year there were innovations that improved the quality and changed the photographic process.
In 1880 Eastman begins to manufacture dry plates commercially. This marks the birth of the Eastman Kodak company which still plays an important role in the photography industry.
In 1884 Kodak introduced their first films. Were photographs recorded on dry plates, which were very bulky, the introduction of film allowed photographers to be more flexible. The smaller size also allowed to produce more images in general. A single film roll had space for either 50 or 100 exposures, compared to dry plates were carrying 50 exposures would have been a logistic challenge, this was a huge improvement.
Kodak then sold its first “amateur” camera in 1888 to the mass market.
Now Photography could have been picked up by the wide public, although the first cameras were rather expensive, that marks a breakthrough in the publicity of photography.
Remarkable Vintage Photography Cameras
After hearing about the history of Vintage Photography, I also think it would be interesting to see which tools were used to experiment with the first images.
Photography has been so complex with digital cameras, that it is hard to comprehend how a modern camera actually functions.
For me, it is very insightful and inspiring to see how minimal photography actually can be. With the simplest tools, photographers were able to create images 200 years ago and they still look beautiful to me.
It doesn’t always need to be the newest and fanciest camera & lens combination.
Pinhole Camera
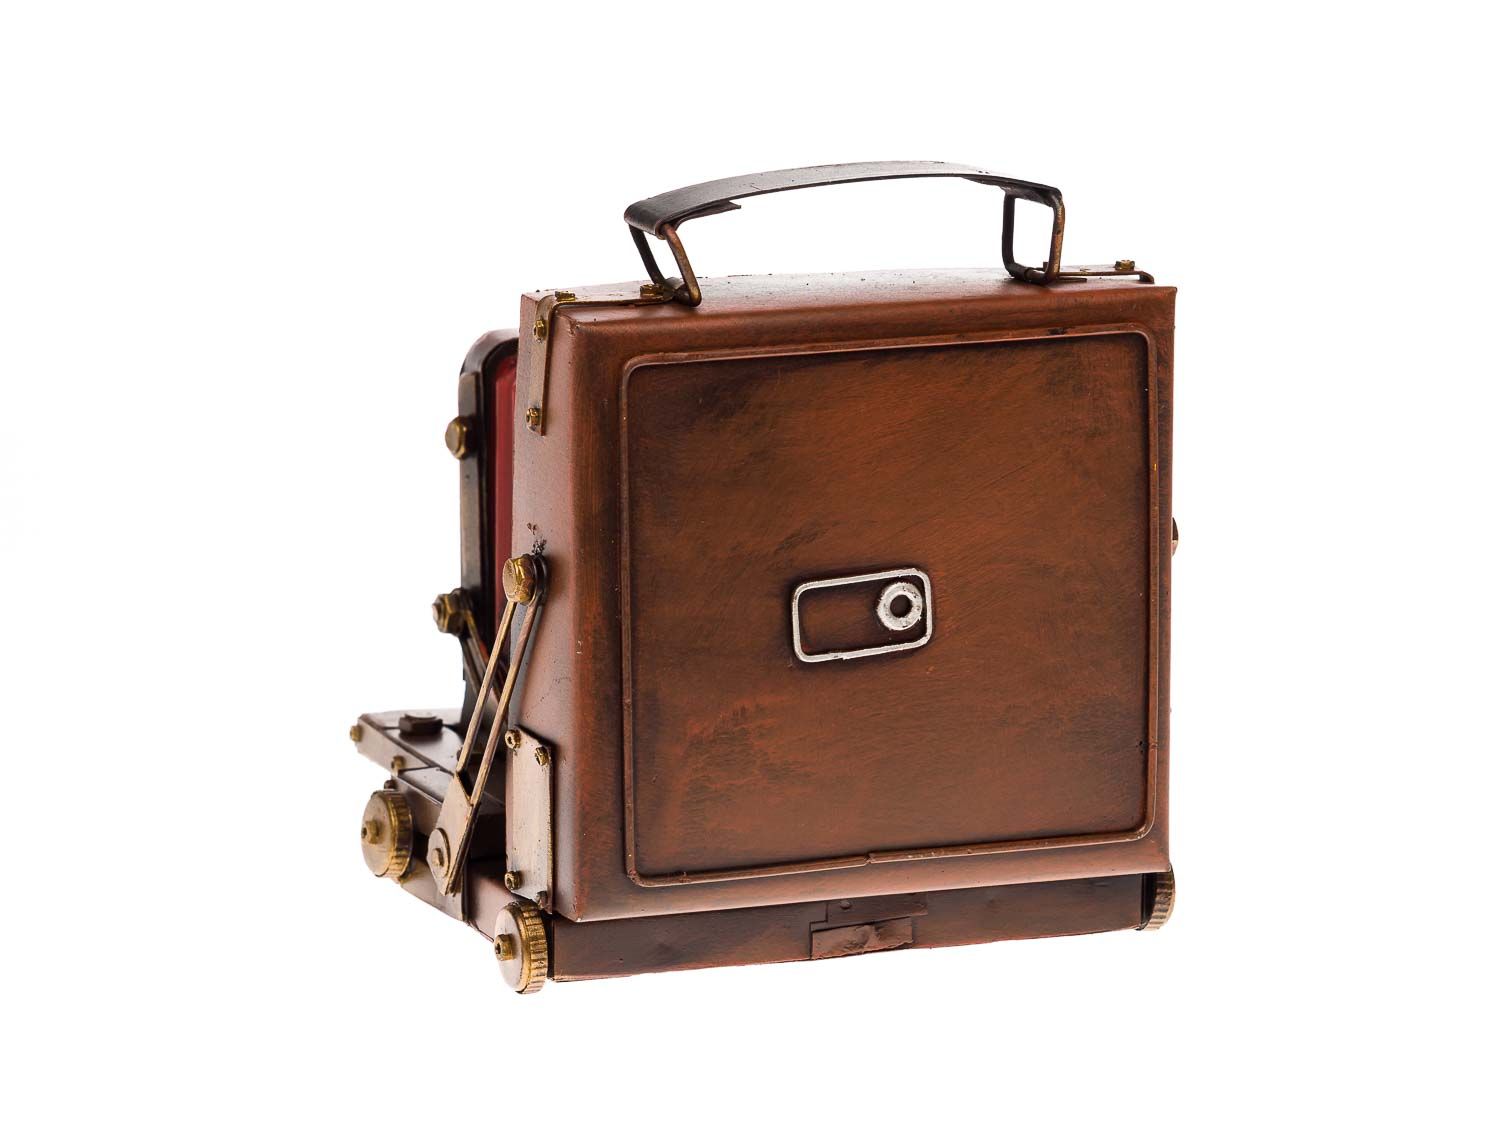
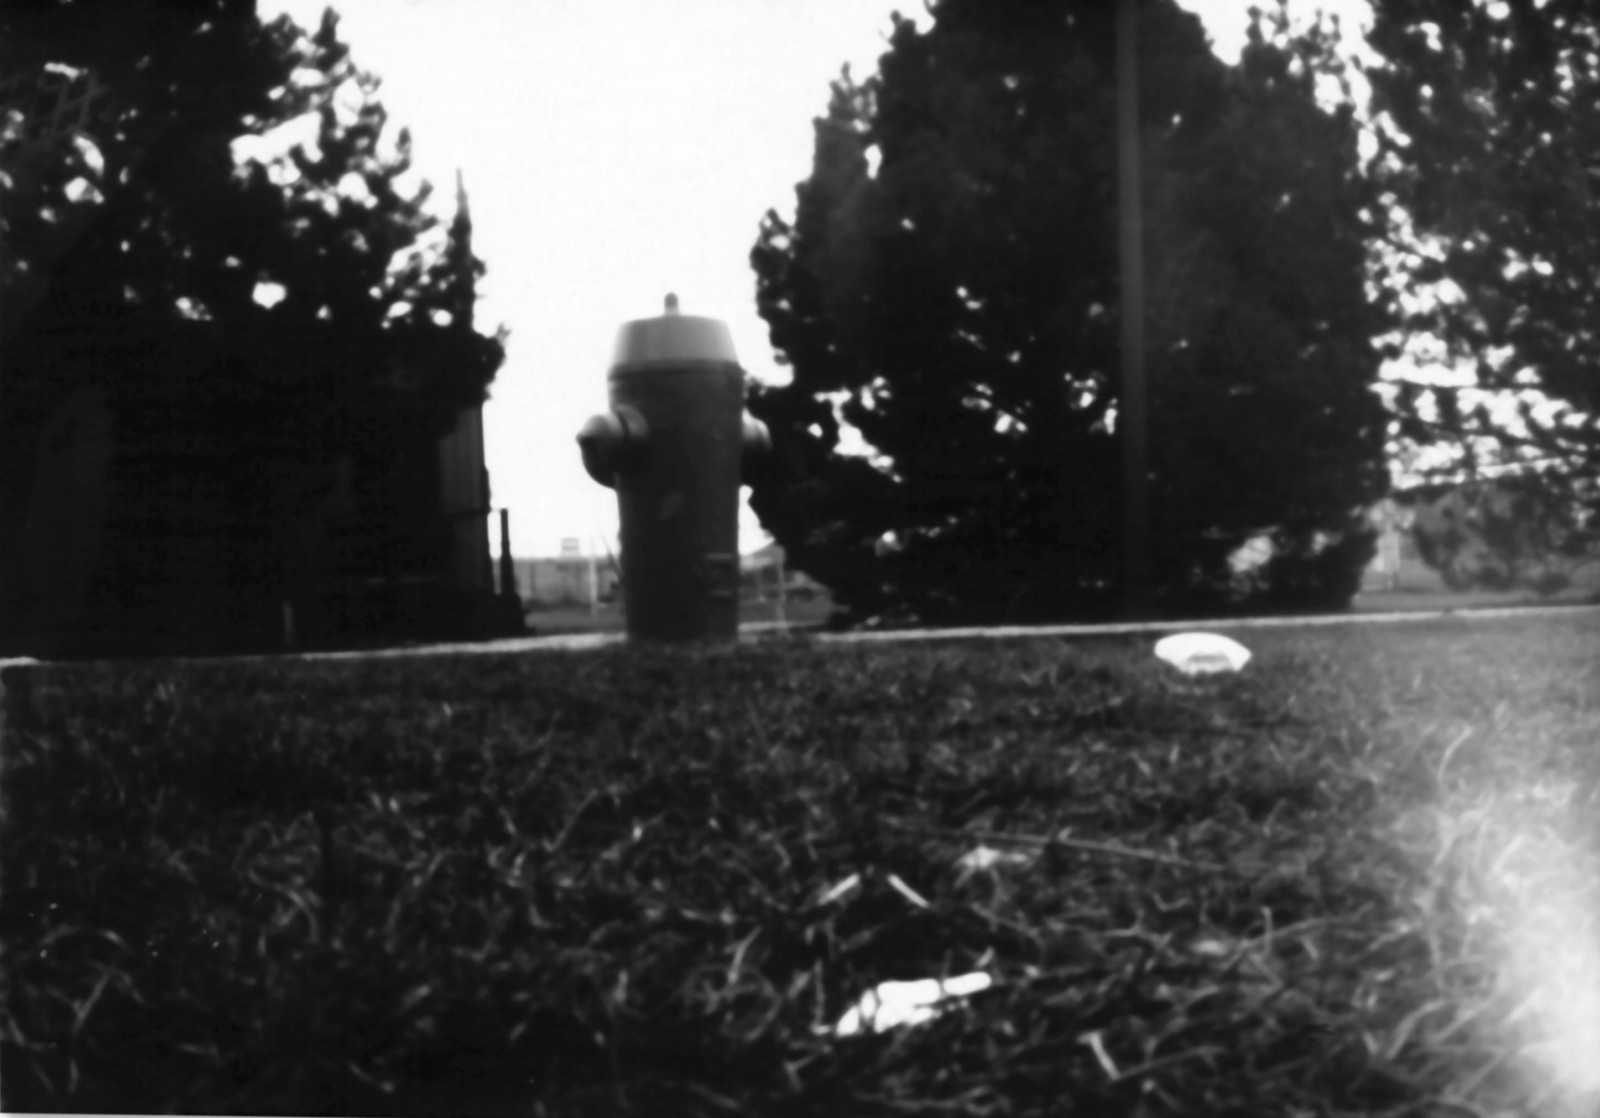
A simple box with a hole in the middle is already enough to produce images.
The camera above is one of the more complex versions in terms of design. You can build pinhole cameras easily Yourself by following DIY instructions online.
You could either use the pinhole camera as a camera obscura without saving the images or also add a recording medium on the wall of the camera where the image has been projected.
In comparison to modern cameras, a pinhole camera even has some advantages.
no distortion
no chromatic aberration
warped image layer (in theory)
Due to its characteristic, the pinhole camera is sometimes used to create more artistic photographs.
Graflex Century Camera

Graflex cameras were known to be relatively inexpensive and often used as press cameras.
The focal length could be adjusted using the slider on which the lens was mounted.
Fun fact: The film director Stanley Kubrick discovered his passion for photography and movies after his father gifted him a Graflex camera.
Rolleiflex
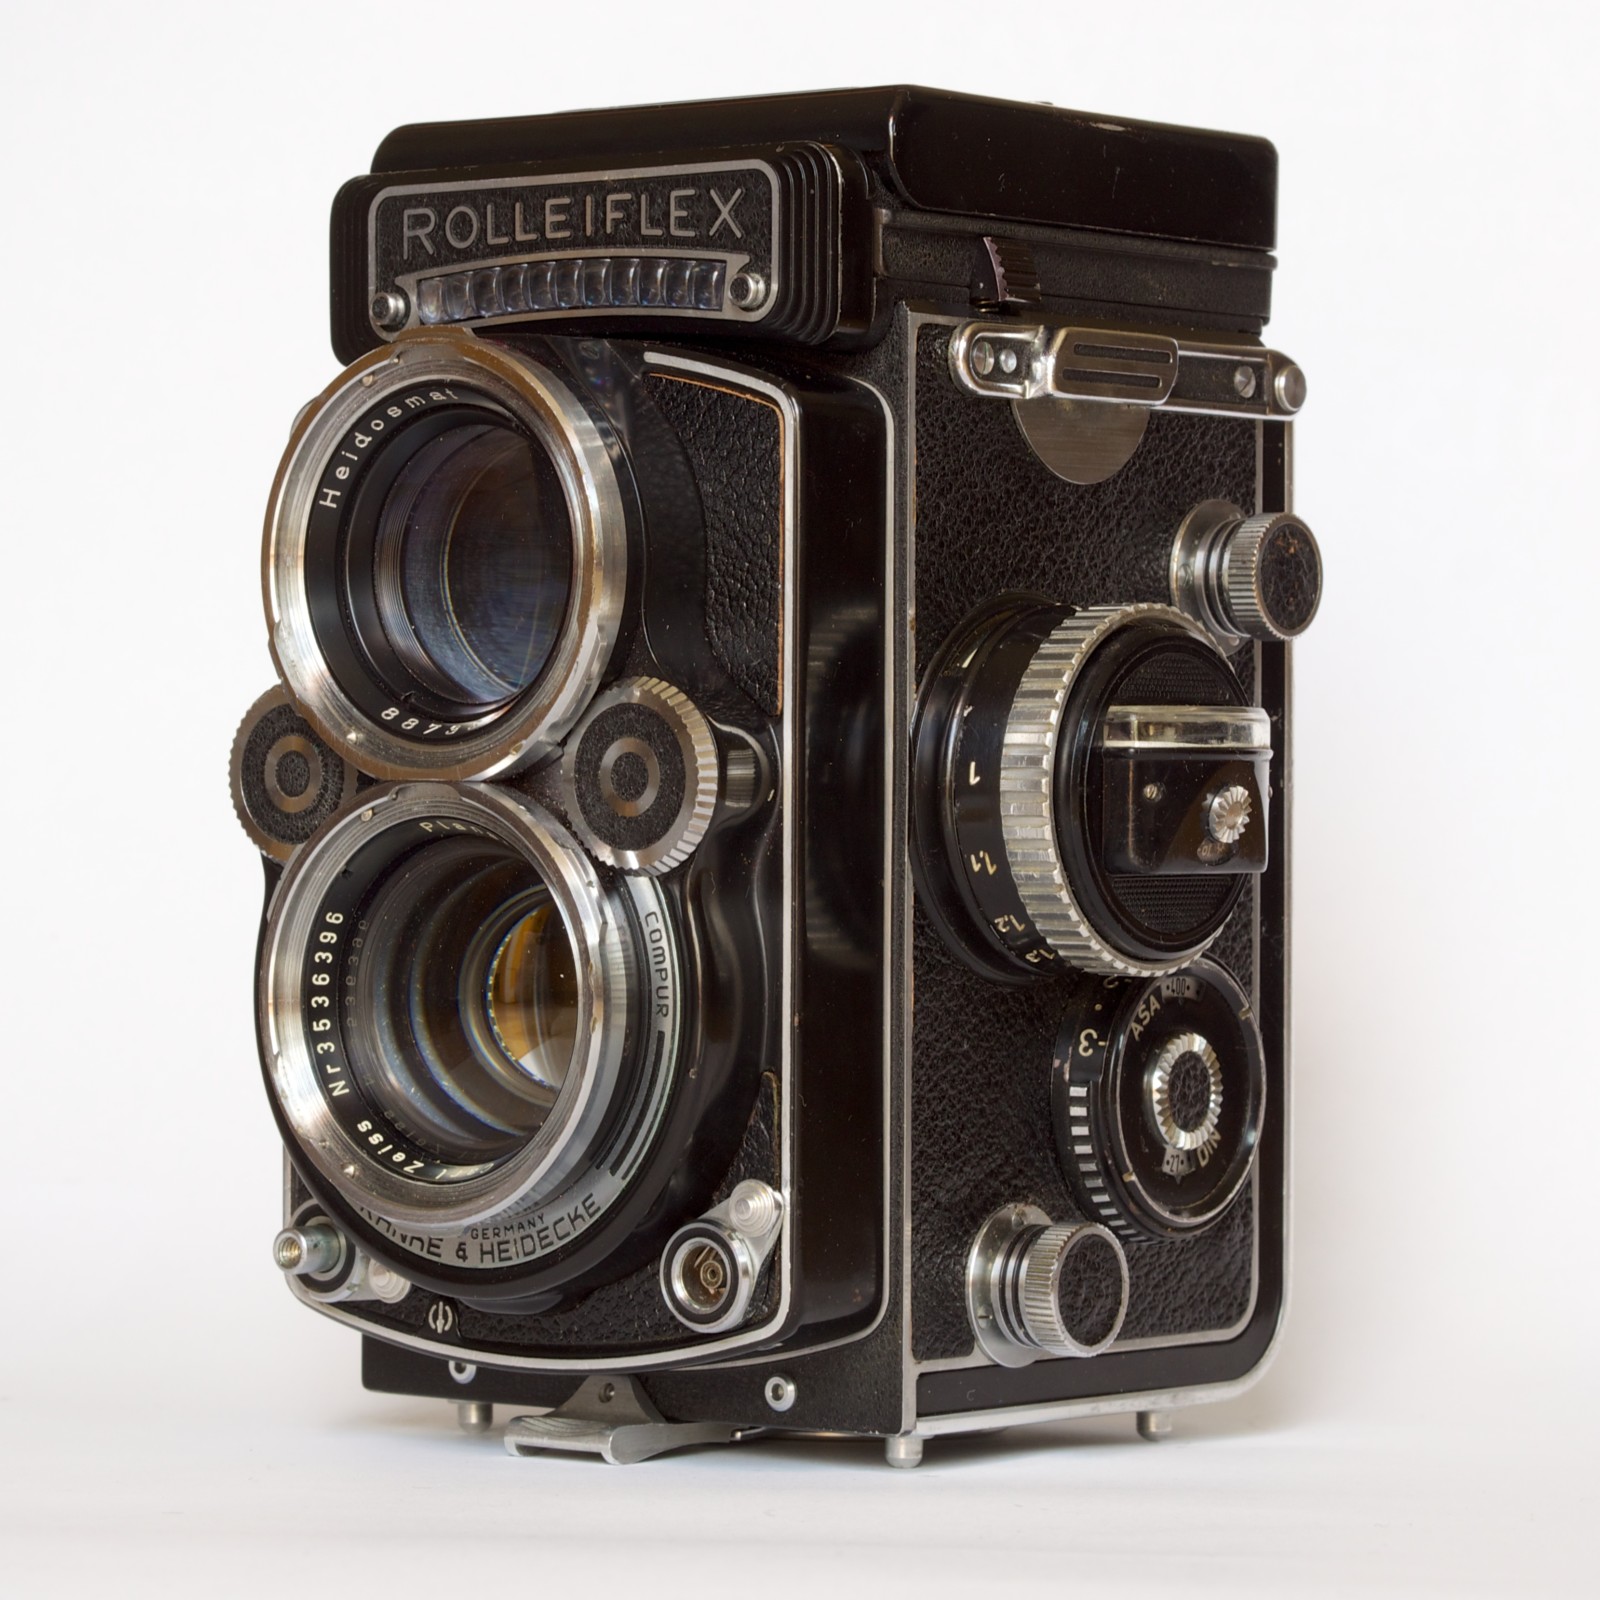
Sporting a very unusual design from today’s perspective, twin lens cameras were very popular for everyday photographers.
One lens in the twin lens system was used as an objective to take the actual image, while the other lens was necessary for the rangefinder. This meant, that the photographer wasn’t looking through the same lens, that the photograph has been taken.
This design didn’t need any shutter and although two lenses were used, these models were relatively inexpensive compared to more complicated single lens reflex cameras.
Rolleiflex cameras have been gained their popularity today mainly through the discovery of Vivian Meier and her selfies in which the vintage camera was often visible. The twin lens reflex system also had the advantage for a Street Photographer that he could be more invisible by looking from the top through the rangefinder.

Hasselblad

The Swedish camera manufacturer Hasselblad is renowned for its medium format cameras. One model even made it to space, as part of the Apollo program and almost all of the photographs taken during that mission and on the moon were taken with a Hasselblad camera.
Hasselblad also found its way from Vintage Photography to modern digital cameras and is one of the few manufacturers that produce customizable systems.
Leica M2

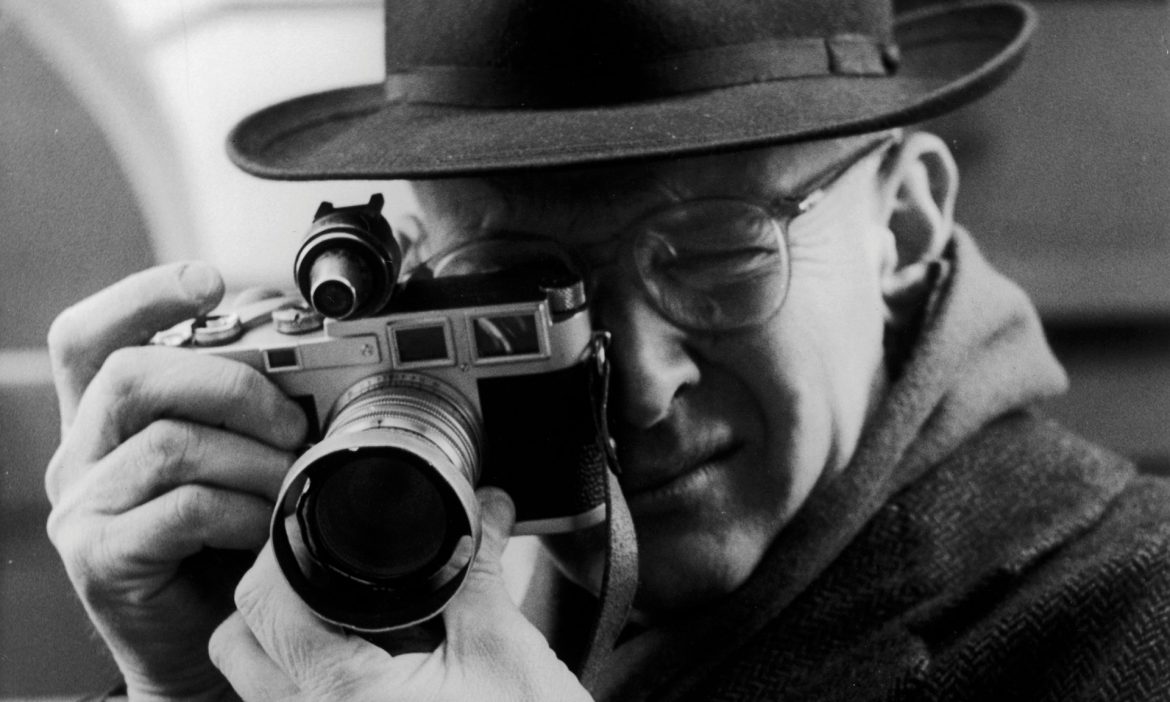
When talking about classic cameras that also had a huge influence on the photography world. We have to talk about Leica and its cameras that were used in Documentary Photography.
Magnum Photographers were notorious for using Leica cameras and one of the household names of Street Photography, Henri Cartier-Bresson was also known for his passion for Leica cameras.
Today, Bruce Gilden is a Street Photographer, who still uses older Leica camera models to shoot his Street Photography.
The Leica M2 was the more simple alternative to the Leica M3 and turned out a great success. With the introduction of the 35mm Summicron lens on the Leica M2, the manufacturer continued to produce all successors with 35mm lenses as well.
Nikon F2

Arriving in the more modern era of photography, the Nikon F2 was a camera that dominated the camera market for a long time. Photojournalists and Documentary Photographers appreciated the very simple mechanics of this camera which made it very sturdy.
Nonetheless, the camera was technically very advanced, for example in terms of shutter speed, automatic film rewind, and mirror lockup.
To this day, there are still a lot F2’s in use and if You are interested in some film photography, You should try it with this classic camera.
Vintage Photography Effects
Although the cameras and techniques were obviously of lower quality compared to today’s standards, they also had a special characteristic. The images were far from perfect and those flaws laid a special charm on these photographs.
Vintage cameras created a style, that we also find today pleasing and sometimes want to recreate. Without having an original older camera at our disposal, we have to find other ways to recreate this style.
Of course, with modern digital post-processing, we can come very close to the style of vintage photographs, or even go further and be more creative when it comes to the look of our photograph.
Original
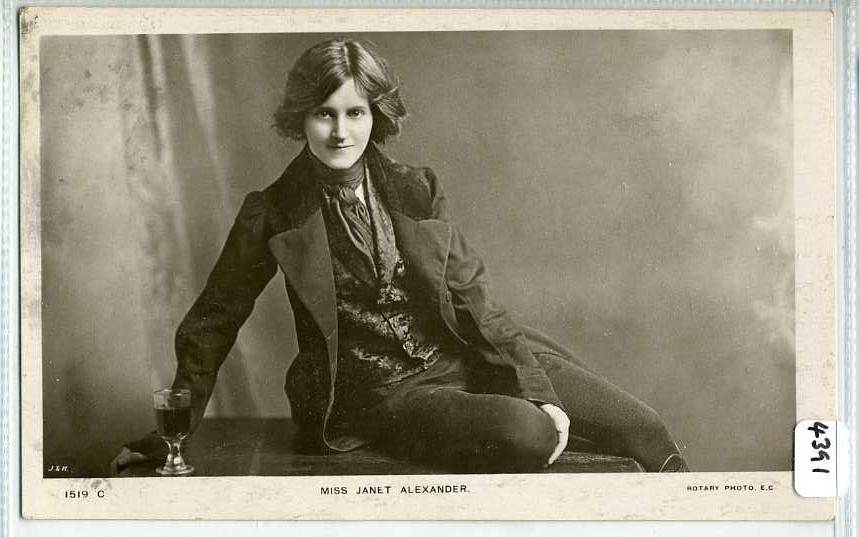
Before adjusting a photograph of ours we should have a look at the typical characteristic of a vintage photograph.
Keep in mind, that the original looked a bit different when it was created and has deteriorated over time, so not all the subtle details are actually due to the old cameras, but also formed over time.
Yellowness
Although the original photographs were in black & white and indicate that there should have been no color involved, older photographs often look a bit more yellow than actually black & white.
The color transformation is the result of a general loss of color intensity. This is the result of a reduction in silver chemicals which is responsible for the black & white contrast.
Opposed to the silver chemicals, natrium stays longer on the photo material and changes the monochrome photograph to a more yellow tone.
Scratches
Due to handling the photograph with bare hands and not storing it properly, older photographs often have scratch marks on them. Those are usually very thin and longer marks covering the whole image.
More rarely are the scratches already on the lens and those would have been also influenced the light more heavily.
Other marks can be fingerprints or a layer of dust.
Vintage Lenses
Vintage photographs also have shown heavy vignetting on the edges of the frame.
Older lenses were of lower quality and without any digital optimization, they were more limited.
With the lower quality also comes more softness to the picture. Today’s photographs sometimes look more detailed, than we perceive reality, which at times can be quite disturbing. In a time where pixel peeping wasn’t present the softness of the photograph was actually a nice touch.
Re-Create a Vintage Photograph
For re-creating the effect of old Vintage Photography, I use a photograph that I have taken at the Mount Ijen. It features some smoke in the background and like the picture before it is mainly a portraiture.
Original

As You can see the photograph is fairly standard. Taken with my FujiX100F and no additional light.
The editing is also minimal with just a bit of increased contrast and clarity.
The Nik Collection
Of course, we could create our Vintage Photograph manually in Photoshop, adding different layers and using the effects that Photoshop has to offer.
To create a Vintage Photograph, there are easier methods and we don’t need to take a Photoshop course for some nice Vintage Photography effects.
I’d rather prefer to use the “Nik Collection” for that which is available for free and comes with a lot of presets that can help us here.
Some things may be easy to adjust in Lightroom, for example, the yellowness and vignetting, but scratch marks or the general film look including realistic old-fashioned noise will be near impossible.
Therefore I am using the Analog Efex Pro 2 tool as part of the Nik Collection in Lightroom to get the vintage effect.
Analog Efex Pro 2
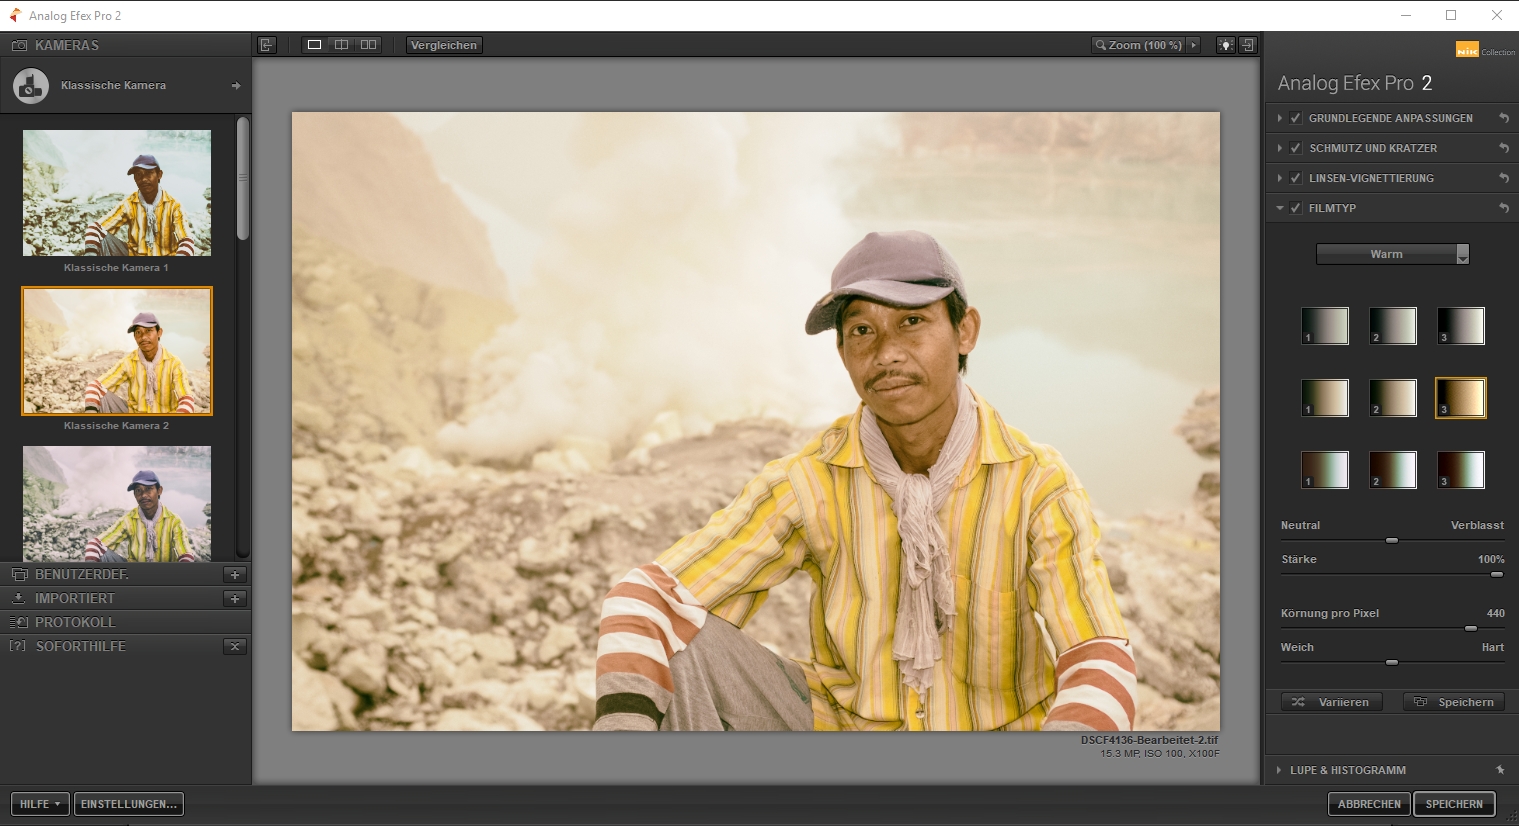
This is how the interface Analog Efex Pro 2 looks like.
As a foundation for the further adjustment, I take the “classic camera 2” look. It already features some of the more yellow-intense colors and on the right side, You can see all the adjustable parameters that You can use on Your own will.
From top to bottom those parameters are
Basics
Some very simple functions like exposure, contrast, detail, and saturation that You are already familiar with in Lightroom. Nothing special for this tool.
Dirt & Scratches
Now it gets more interesting and as part of the reason why I prefer the Analog Efex Pro 2 tool is that it comes with pre-defined scratches and dirt layers that You can add to Your image. You are also able to adjust the intensity to customize the look even more.
Vignetting
Vignetting shouldn’t be new to You, but in this case, You are presented with more options. Instead of round vignetting You can also tune it into a square format and change the size and intensity of it.
Film Types
The most interesting feature is the choice of film.
There are different basic types of film, that You can customize even further in their loss of color and the noise for example.
The Vintage Photograph
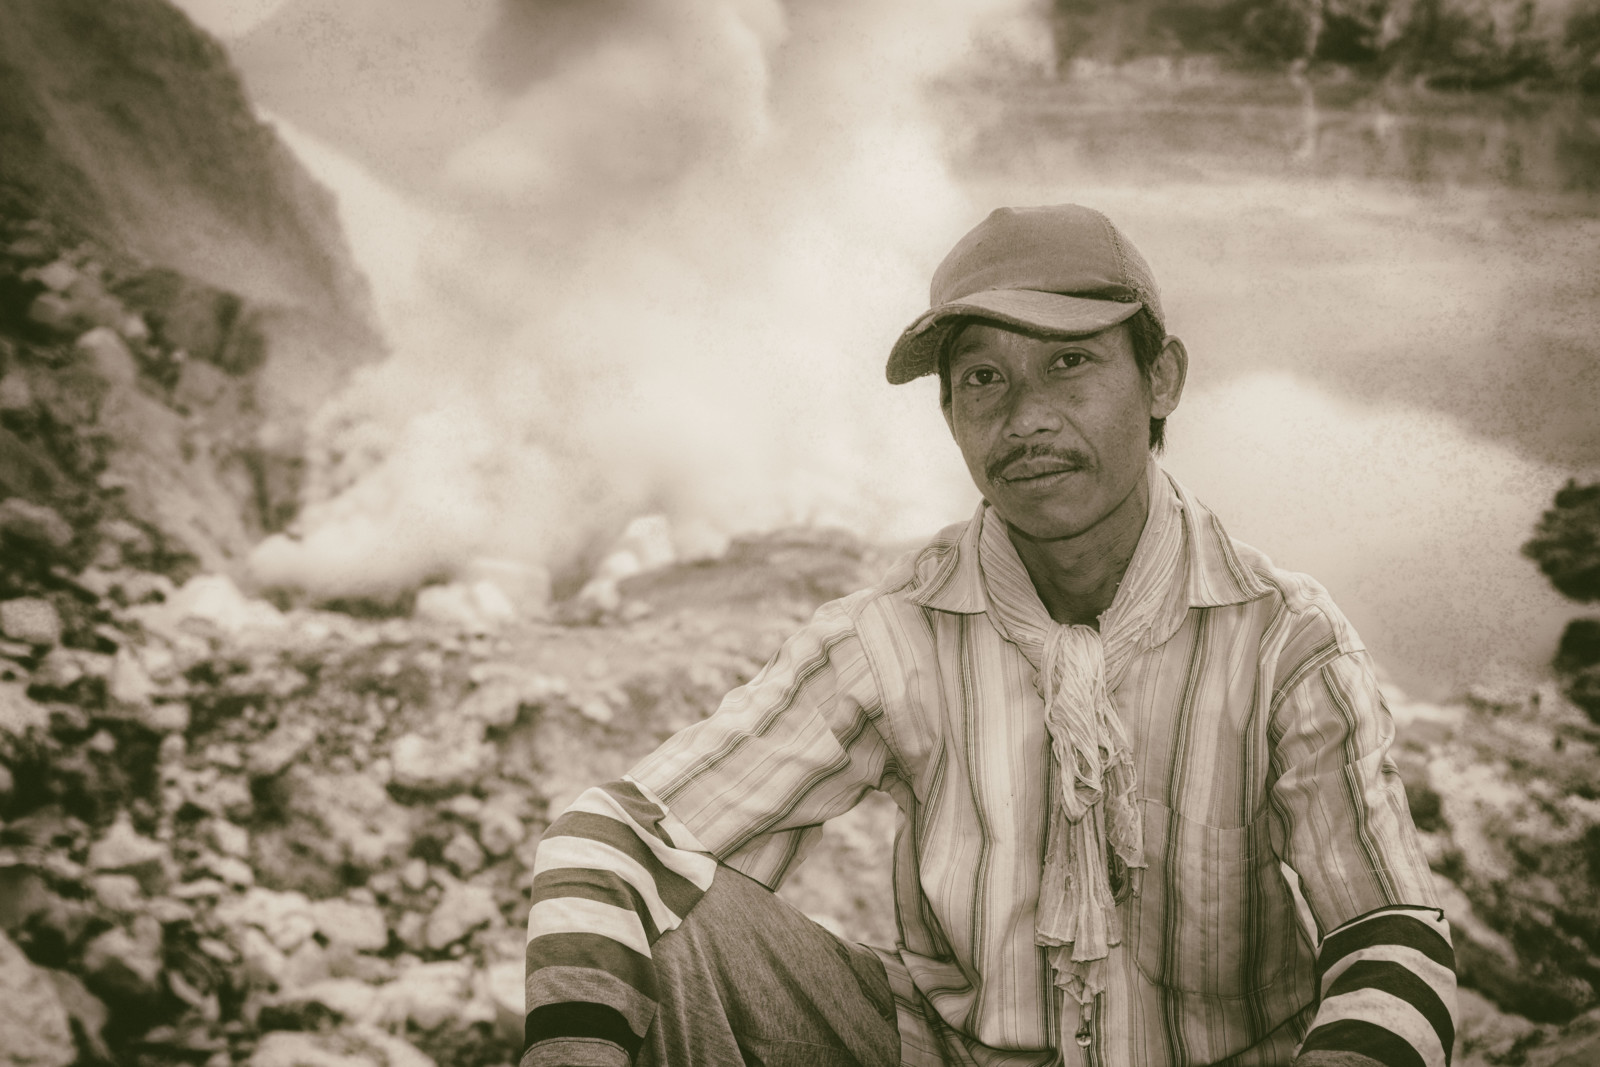
This is the final result of the post-processing in Lightroom. Of course, it is highly dependable on Your own taste, if You want to go for a more black&white style or add significant scratches, but for me, this looks already pretty good and would do fine as a Vintage photograph.
Based on the “Classic Camera 2” look I decreased the saturation to -100, added some dust, a vignette and decreased the clarity in Lightroom afterward to make the photograph appear softer.
There is no limit to Your own creativity and You can try out very different styles to come closer to Your personal vintage look. As You can see, You don’t need to invest any money to get some decent results too.
What To learn from Vintage Photography
In today’s day and age, we focus a lot on the quality of the images and rate cameras by the number of pixels they can display.
Vintage Photography shows, that sharpness, and noise isn’t everything in a photo. Those older photographs have their own character and specific style. They aren’t worse because they may not be 100% sharp or slightly out of focus.
The softness becomes can sometimes even be preferable for some pictures today and not few photographers buy vintage lenses for that exact reason.
There are also many different ways of approaching photography.
Today there are disputes if full-frame is better than APS-C if You need a DSLR or a mirrorless camera. But when I look at the vintage photographs, I don’t think about that.
Who looks at the beauty of those images and thinks about the technical attributes of the picture?
What is more important is the result and if it is good, then go with it.
We should be a little more relaxed in our photography today and some minor mistakes or “imperfections” can create a wonderful individual character.
