The ISO in photography is an often overlooked part when it comes to creating the perfect image. It is often seen as a technical detail that isn’t very interesting. Yet, the ISO as one part of the exposure triangle has a tremendous influence on the outcome of Your pictures. Are You interested in finding out how the ISO works and why we still have it in digital photography?
I will give some tips and how You can optimize the ISO to get a better image quality.
What is the ISO
Without going too much into technical details, the ISO describes the “sensitivity” of a film or digital sensor. The more sensitive (higher numbers) the film or sensor is, the brighter the image will be.
Due to this characteristic, the ISO becomes increasingly important in dark environments, where the ISO has to be adjusted as a means to brighten up the image. When increasing the sensitivity of digital sensors, the image will become grainier and the overall image quality does suffer.
Therefore, whenever You can, try to photograph with the lowest ISO setting possible, to achieve the best image quality.
ISO in Film Photography
In film photography, the ISO referred directly to the sensitivity of the film. The corresponding ISO of a film could be found on the packaging and the name of the film itself.
One of the most popular films was the Kodak TX 400. As the name already suggests, the ISO was at the level of 400. With this kind of sensitivity, the Kodak Tmax 400 film made it possible to also photograph in slightly darker areas, without losing too much image quality.
With increasing sensitivity, the resolution of the film decreases as the single light sensitive crystals of the film are increasing in size.
In addition to the grain, more sensitive films have difficulties with the color fidelity and the dynamic range.
The highest common films were available up to an ISO of 6400.
In Digital Photography
Interestingly enough, the same principles that are true for film sensitivity, are also relevant for digital sensors.
The higher the ISO number, the more noise will be added and the lower the overall image quality will be.
In general, You are always trading image quality versus brightness when making the decision to increase the ISO.
The ISO and image quality in digital photography is also dependent on the sensor and the technology that is used. As such, it is not directly comparable to film photography anymore. A picture of a high-end camera with an ISO of 6400 can produce less amount of noise and look far better than an entry-level camera can produce at an ISO of 1600.
Difference between ISO Noise and Film Grain
When I shoot black & white, I don’t have any problem with a little more “grittier” look. I don’t need the highest resolution and an absolute clean look for fine arts.
For my work in Street Photography, this isn’t what I am aiming for. Yet, simply raising the ISO isn’t a solution to get the grittier look. The noise that is produced due to high ISO levels from a digital sensor looks significantly worse than film grain.
Film grain has its own characteristic and is never the same. There is some randomness to it and it can look aesthetically pleasing or create some nostalgic look.
Sensor noise, on the other hand, is very technological, uninspiring and emotionless. It simply doesn’t look good in any imaginable way.
If You want to produce the grittier look and replicate the film look You either have to get out and shoot on film or get Your hands on some pretty good film emulations like the Silver Efex presets.
The ISO values
While the exposure steps of the aperture can be a bit more complicated, the ISO is pretty simple to understand.
The ISO values increase linear and are always doubled or halved.
A normal range looks like this.
100
200
400
800
1600
3200
6400
These steps are similar to the ISO values that were already used in analog photography.
With every doubling, the exposure also doubles.
Apart from these rather standard values, there are some quirks that aren’t really intuitive.
While the base ISO is often valued at 100, there are a few sensors out there that are able to set the ISO to 50. If You are photographing in very bright light and don’t want to use an ND-Filter, then decreasing the ISO to 50 can be an option. At ISO 50, the picture will be darker, but also loses a lot of its dynamic range.
Photographing at ISO 50 is advantageous if You are shooting in bright light and there isn’t any extreme contrast. Contrary to this situation, if You are in bright light, but are working with a high contrast, the ISO 100 can be better since You have a higher dynamic range and the options while editing the picture are more complex.
In film photography, the max ISO in the standard film was around 6400. Digital sensors also worked with a range from 100 to 6400 most of the time, since any increase would render the images almost useless due to the increase in noise.
Technological advancement opens the max ISO for new dimensions. A SonyA7S ii can increase the sensitivity up to a value of 409600. Pictures at this maximum level will become very noisy of course, but not to a level where one would render them useless.
Noise of ISO
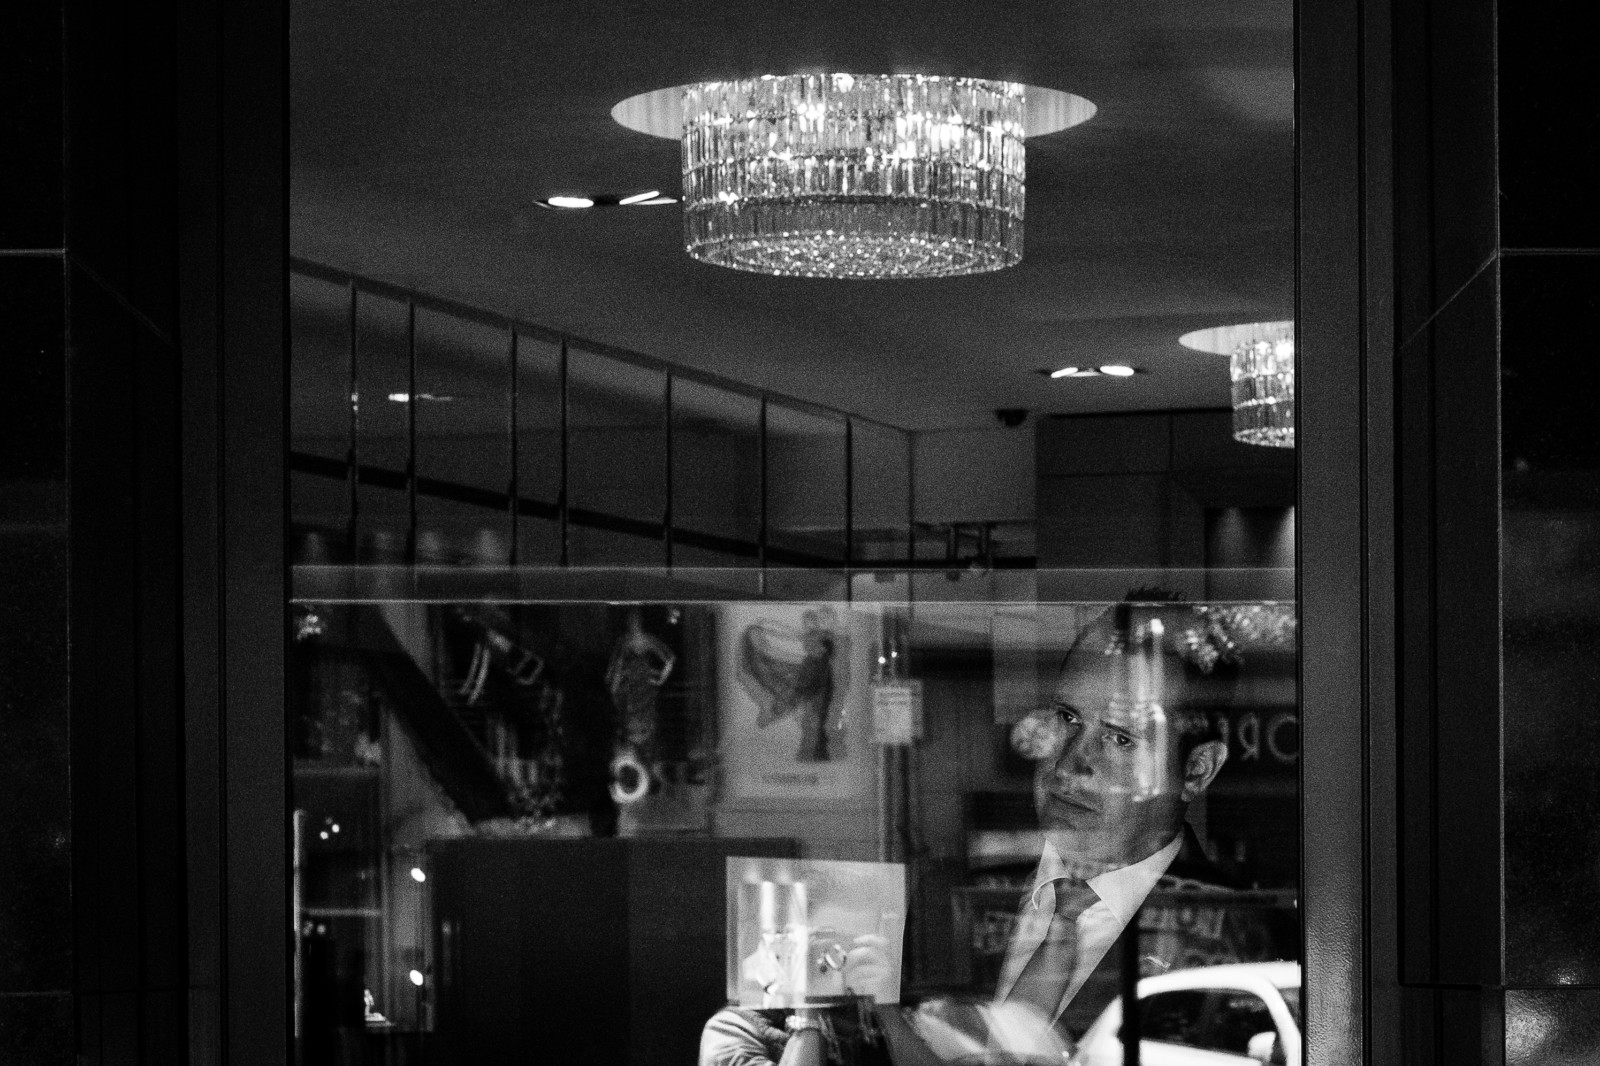
To have a much better impression of the characteristic of high ISO and its effect on the pictures, here are some comparisons. Those photographs were taken with the worst combination possible. A very entry level DSLR(1100D) in low light and high ISO.
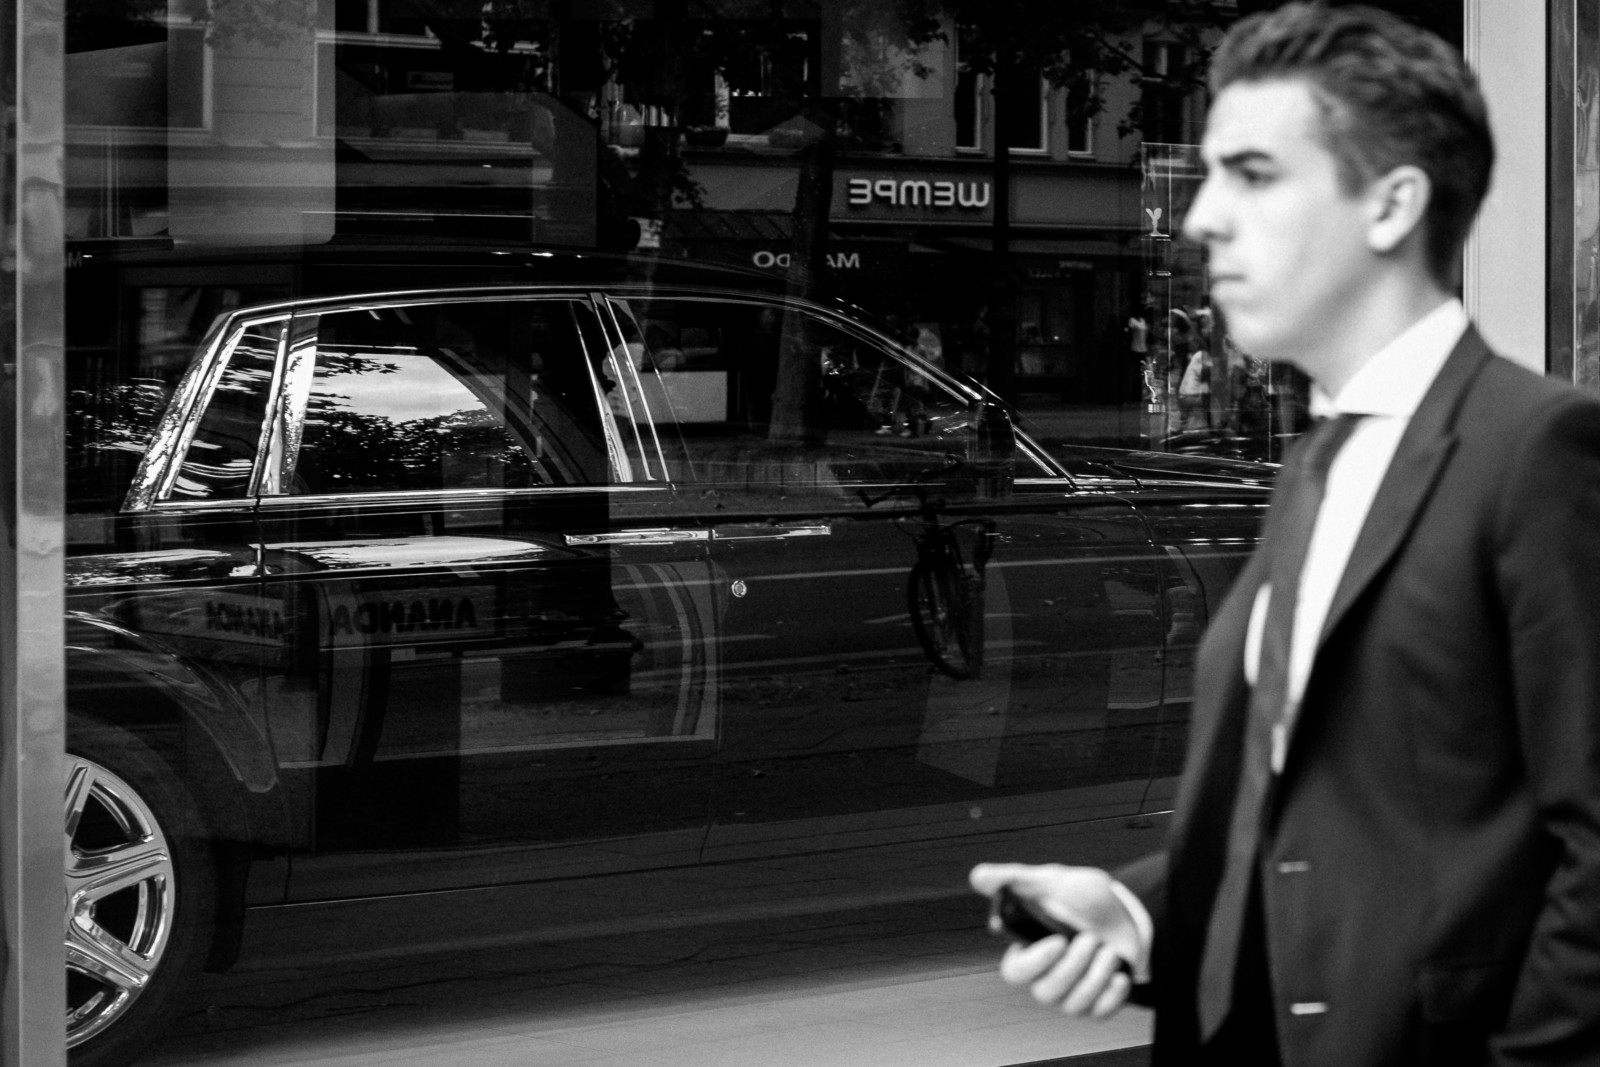
As You can see, the noise is just disturbing and doesn’t add anything interesting to the image.
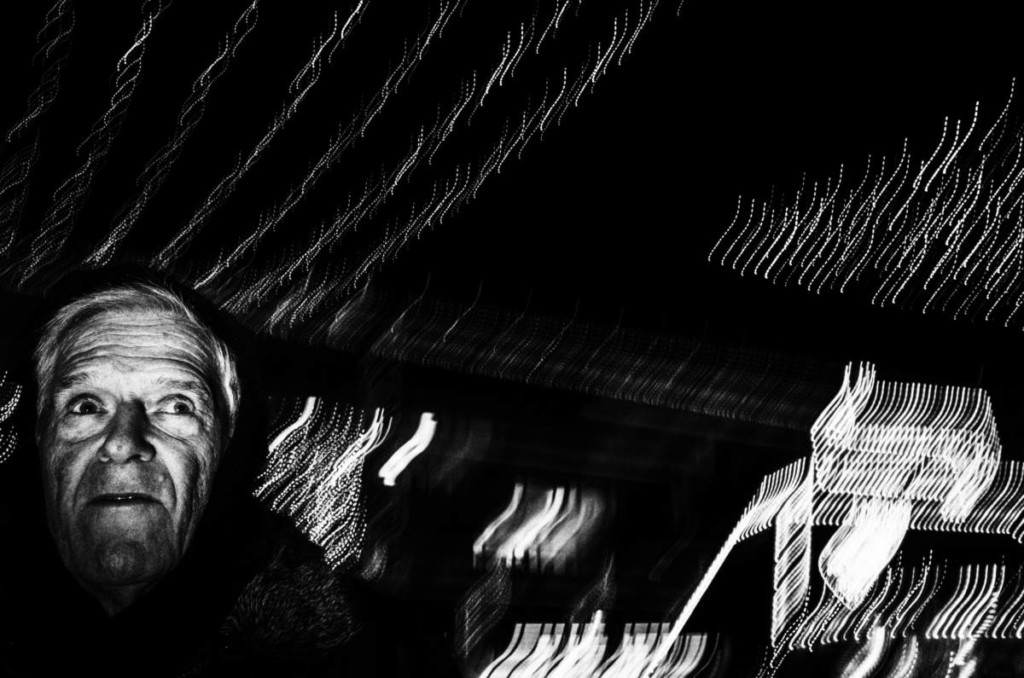
For a better comparison, here You can see an actual film simulation. The grain in these film simulations does have a positive influence and doesn’t just lower the image quality. Adding some grain works best for black & white images and You are able to re-create a classic film style, even with modern digital cameras.

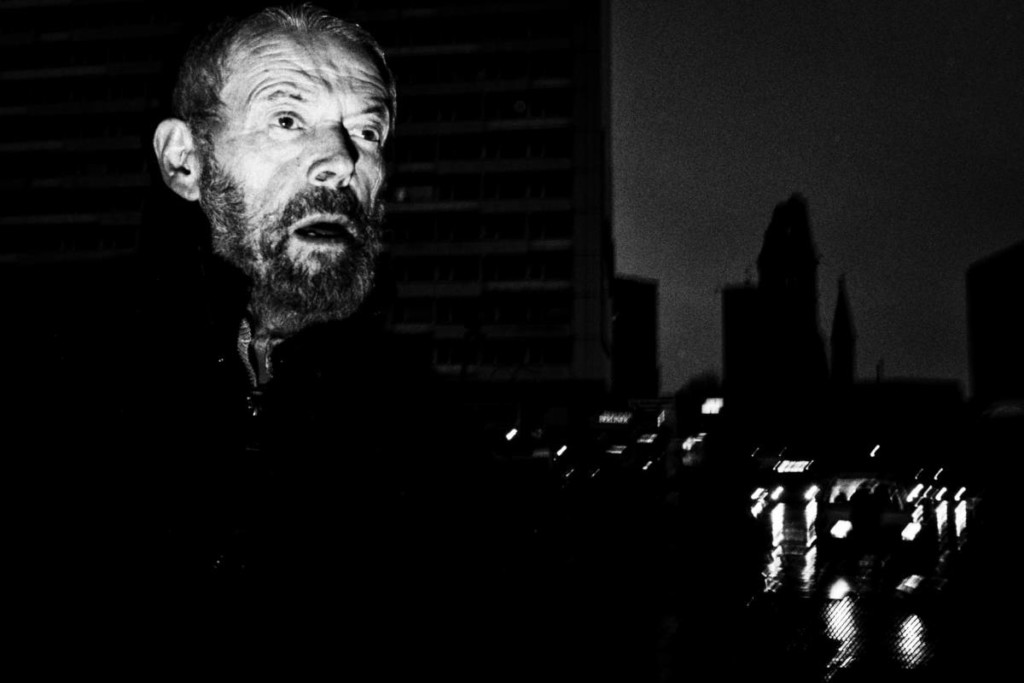
I use the Silver Efex suite to achieve the film grain and recommend it to everyone who wants to achieve a very realistic film style as well.

Setting the ISO
To set the ISO, You have to abandon the fully automatic mode (usually marked with a P). The ISO can be set in the manual mode, but also in the half-automatic modes like aperture, or shutter speed priority.
The ISO itself can be either changed in the menu of digital cameras or via a wheel on top of the camera.
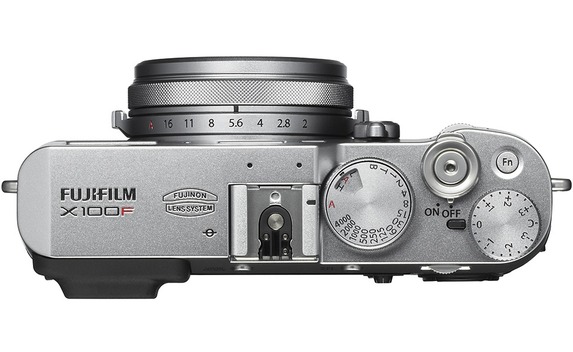
My FujiX100F has a wheel that resembles those of analog cameras. With this wheel, I can mainly control the shutter speed, which are the numbers on top of the wheel. To change the ISO, I have to lift the wheel and then turn it. It doesn’t seem very intuitive, but then again, it does resemble the old analog days.
In most cameras, You can change the ISO simply in the menu.
Apart from setting the ISO that You are using, there are some interesting modes for the ISO that I use occasionally as well.
Instead of having a fixed ISO of let’s say 100, You can also set the ISO to automatic. For example, You can shoot in manual mode, set the aperture & shutter speed and to get a good exposure, set the ISO to automatic. This can be a good choice if You want to use a specific aperture & shutter speed and don’t want to adjust the ISO manually every time the environment changes slightly.
Now, You might be afraid that the ISO in this automatic mode could get to high values of 6400 which would impact the image quality very negatively. The good thing is, that most modern digital cameras allow You to set certain ranges and limits on the ISO.
So You can, for example, set the ISO to automatic, but at the same time say that the ISO shouldn’t go higher than 1600. In this case, You might have a look at the images and see if they are already at the ISO limit and adjust the aperture or shutter speed instead.
Of course, this limit depends on Your own preferences and capabilities of Your camera. With a high-end digital camera, even ISO 6400 can look pretty decently and the noise is near non-existent.
Which ISO Settings to use
The question for the best camera settings isn’t always easy to answer. When it comes to the aperture or shutter speed, there are different advantages and disadvantages depending on the settings and it is difficult to argue what is always the best.
With the ISO, this question is a little easier to answer. The answer to the question which ISO You should use is always the lowest ISO possible, or simply ISO 100.
Whenever the light level allows You to, keep the ISO at 100. Not only will the noise be at a minimum, also the dynamic range will be at its best.
However, there are situations where You don’t have another choice, other than increasing the ISO.
Are You shooting at night, without a flash and tripod? Then You will most likely to have to increase Your ISO. If You are going for Black & White photography, this doesn’t have to be the worst decision. Some high-ISO images at night can have a cool atmosphere.
In contrast to that, if You are trying to capture neon signs and the unique style of neon signs at night, then a high-ISO will a big negative influence. Not only will the noise not look appropriate, the colors will also look a bit off. In this case, try everything You can to either work with an open aperture or slower shutter speed. If You don’t have a tripod with You, You can also lay down Your camera and use Your smartphone as a remote trigger.
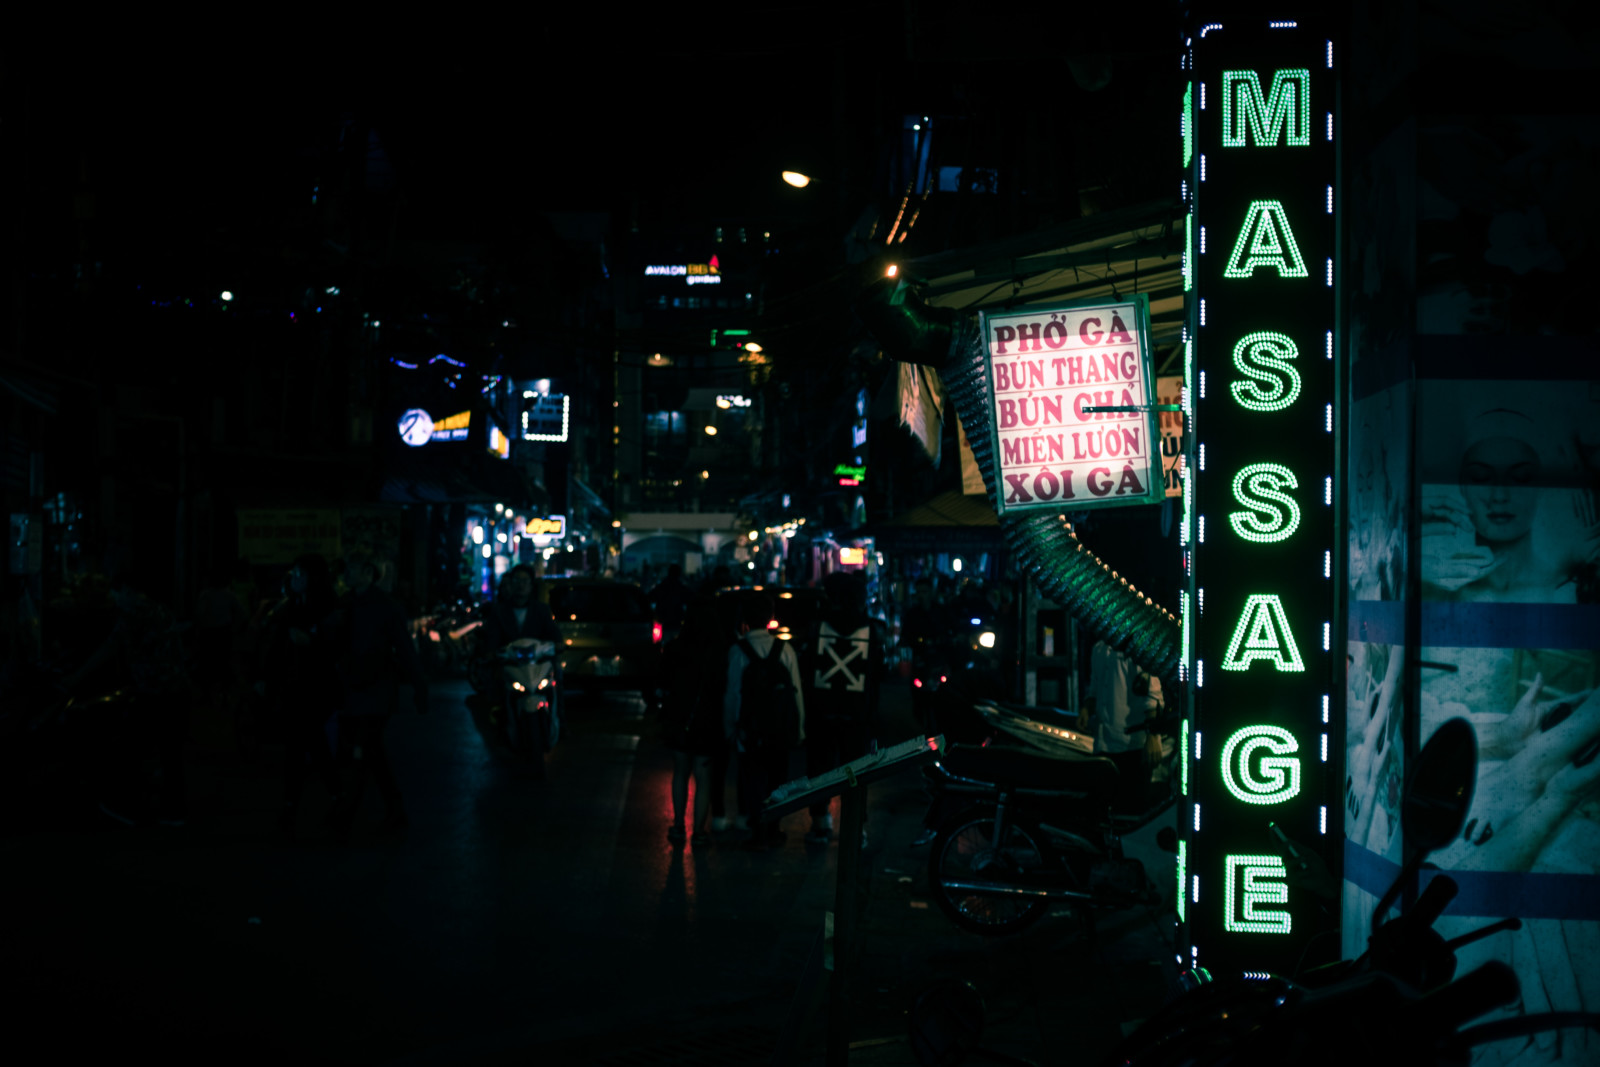
Other cases where a higher ISO is often inevitable is when shooting indoors without a flash or at sports/wildlife photography. The latter requires You to have a very fast shutter speed and the aperture cannot always be opened to the maximum because the depth of field might get too narrow.
Then You have no other choice than increasing the ISO. This also the reason, why I would still recommend high-end DSLRs for these genres, although I am a big fan of mirrorless cameras otherwise.
Improving the Image Quality
Did You take some great shots, but only, later on, discover that the auto-ISO setting used some pretty heavy ISO 6400 and Your pictures are full of noise?
Then there are ways to improve the image quality in post-processing – at least to some extent.
Digital technology and post-processing allow some magical things when it comes to recovering bad images. You can increase the exposure in a range of multiple f-stops, or raise the shadows in a completely dark area. The possibilities to manipulate a RAW image are manifold.
Regarding the ISO though, there are very strict limitations. There is no “natural” way to reduce the noise of an image. Once the noise is in the RAW-file it is there and there is no way to reduce it and at the same time to keep the image quality.
However, there are ways to reduce the noise, but it does affect the sharpness.
Lightroom
In Lightroom, You can use the noise reduction tool to reduce the unpleasant ISO artifacts. What this tool does is that it smoothens the pixels of the image. With this technique, the program basically tries to fade away the noise by increasing its neighboring pixels.
This will result in a loss of detail since You are basically increasing the pixel size, which is comparable to reducing the resolution of the image. There are some additional settings You can use to decrease the noise, but in all honesty, the results will never be great.
Here is an extreme example where I use the noise reduction at a maximum level.


Just try to apply some basic noise reduction and see which level of detail loss You are willing to accept. Be careful though when You have a lot of noise and people in Your pictures, the skin can look very wax-figure like quickly.
Other Tools
Lightroom isn’t the only software that allows some noise reduction. There are other tools that are more specialized in reducing the noise like Topaz’s DeNoise or Neat Image.
Their results may be a little better, but even they have to deal with some loss of detail and the images will never come close to the results that You would get if You used a lower ISO when shooting the picture.
Facts about the ISO
There are some myths surrounding the ISO and the influence of the sensor on the generated noise. So here is a quick overview of some of the rumors that You might have heard and quick explanations.
The ISO noise and Sensor Size
So far I have explained the ISO very independently of the sensor size. I mentioned that the sensor quality has an influence on how accentuated the noise will look like, but there is more to it than the sole sensor quality.
More important than the quality can the sensor size be. Modern digital cameras can have sensors the same size as the 35mm analog film (full frame) or they can go down to the newer standard of Micro Four-Thirds. So how does the sensor size influence the noise?
DPreview has quite a comprehensive overview on this topic. To sum their findings up, the smaller the sensor, the more noise will be generated at the same f-stop level. This can be explained by the fact, that full frame sensors capture more light than their APS-C or Micro Four-Thirds counterparts given the same f-stop level.
So if You are interested to go out and shoot mainly during the night, or some wildlife photography, then full frame sensors do have a clear edge.
ISO Invariance
Lightroom has the capability to push the exposure of a RAW-file around 5 f-stops up or down. What is the difference between using a higher ISO while shooting, or raising the exposure afterward?
In digital sensors, the ISO works very similar to the exposure slider in Lightroom. The light will be amplified, which results in brighter images. ISO invariance would mean, that there is no difference between increasing the ISO or raising the exposure.
To some extent, this is true and raising the ISO, or the exposure slider, will both increase the noise and brighten the image.
The difference is, that with a higher ISO, the dynamic range of the image decreases. This can result in a higher risk of losing information in the highlights of the image.
To avoid the loss of highlights, You can purposely underexpose the image and keep the ISO at a base level and increase the exposure later on in post-processing.
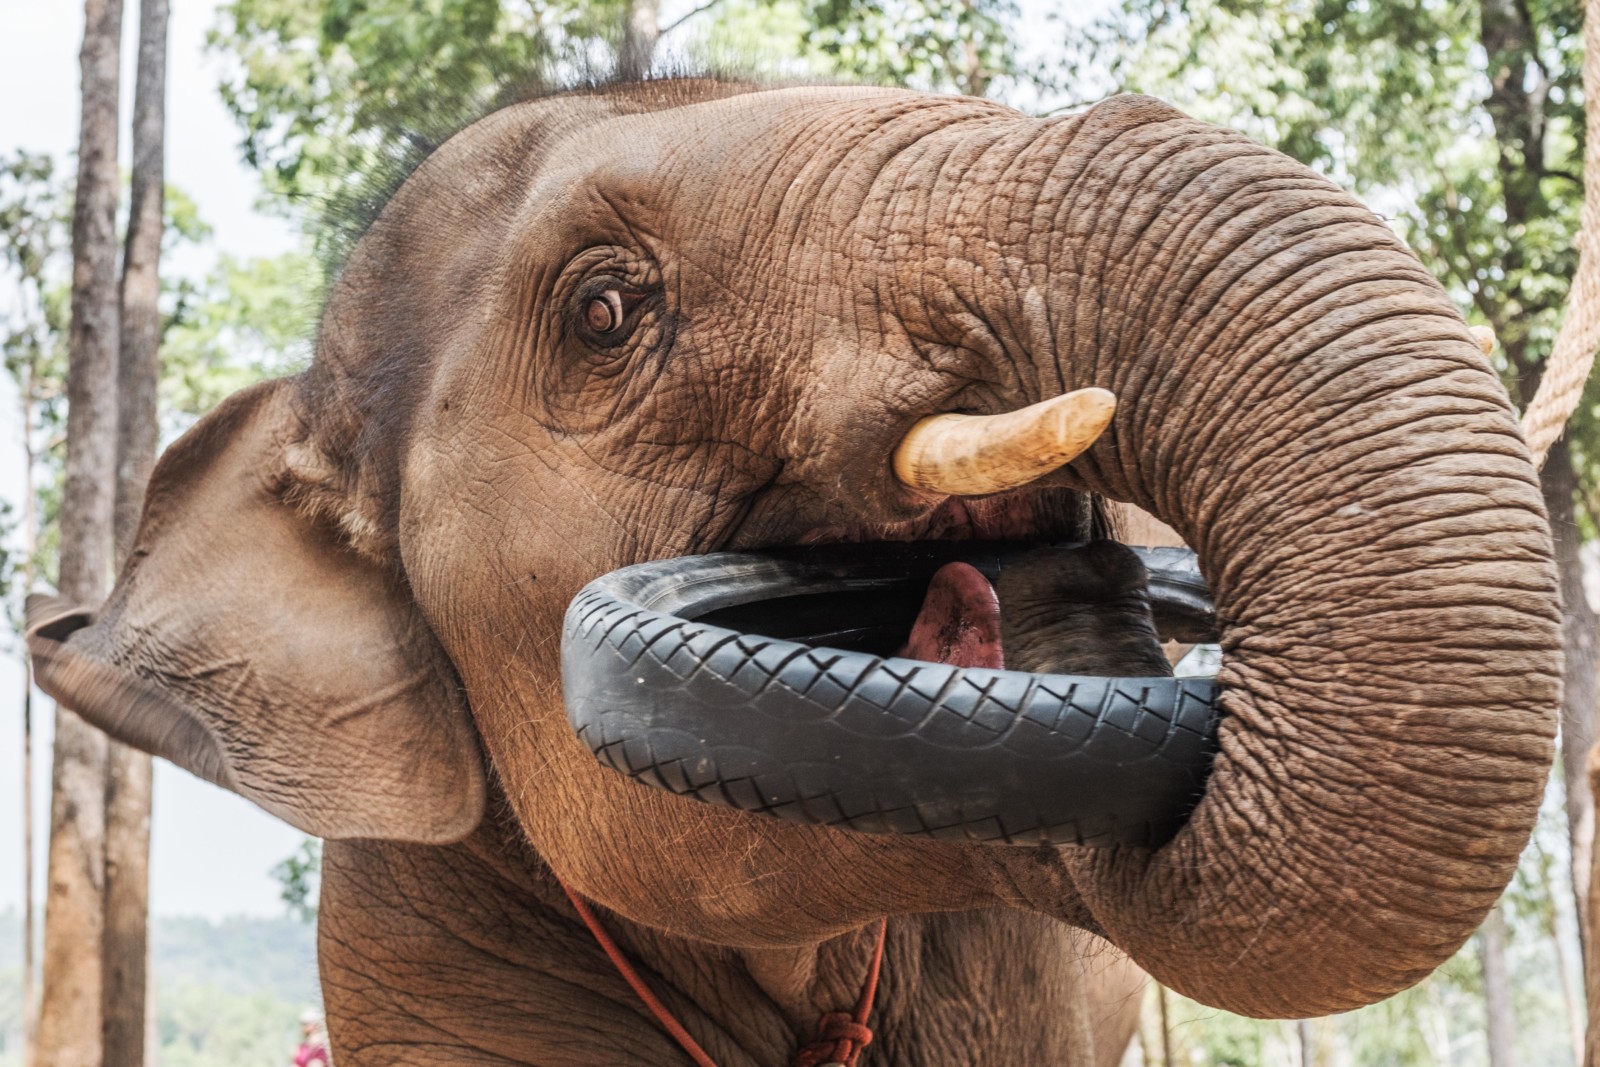
I used this technique when photographing in the elephant jungle sanctuary and had to face the high contrast of the jungle. Below You can see the comparison of the RAW file versus the processed image.


The ISO in a Nutshell
As part of the exposure triangle, the ISO has a huge influence on the brightness of the image. The higher the ISO, the more noise will be generated, but also the brighter the image will look like.
Bigger sensors have an edge when it comes to avoiding noise at the same f-stop level and therefore are more suitable for night time photography, or other genres, where You might be forced to use a higher ISO.
The noise can be reduced to a certain degree during the post-processing, but it will come at a loss of detail.
More often, the higher ISO does fit better in Black & White images as it creates an overall more “grittier” look.
On the other hand, the noise caused by a high ISO is not comparable to film grain. The aesthetics of noise are non-existent and to generate a film look You are far better off with some film emulation presets.
Be careful when using a high ISO and shooting in contrast-rich scenes, as the highlights are at a greater risk of blowing out. To prevent this from happening, rather use a lower ISO and increase the exposure in post-processing.
