


Shooting Street Photography at Night
Photography as the capturing of light is regarded as a discipline that is done normally during the day when the sun shines bright and everything is well-lit. How can Night Street Photography be possible, when there is little light left?
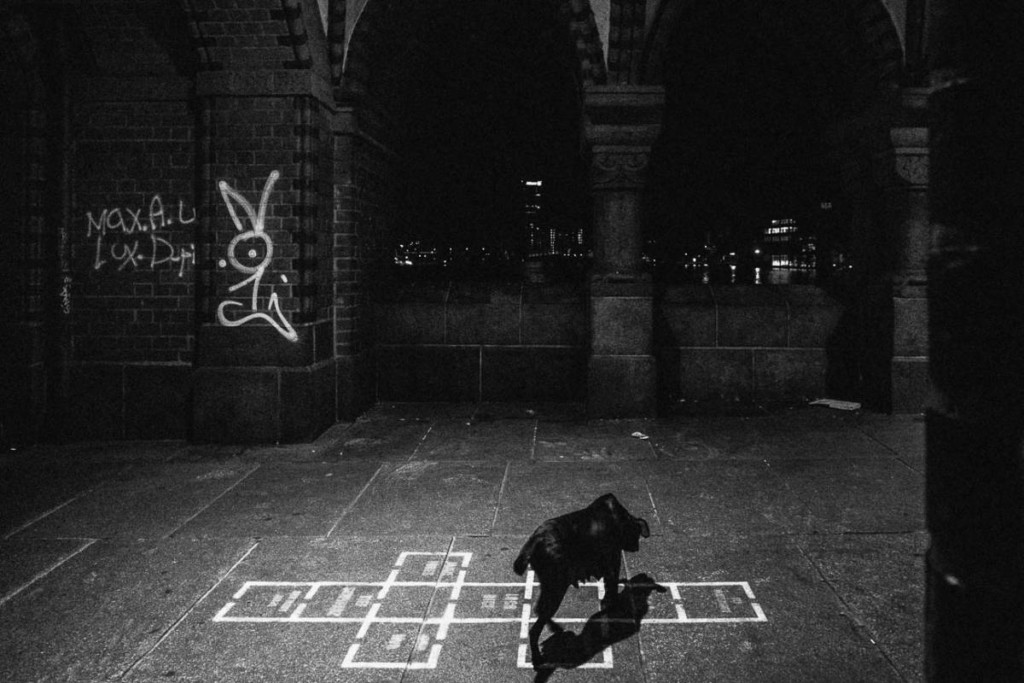
It is very easy to work when the sun shines evenly. With the “f/8 and be there rule” introduced by Documentary Photographer Arthur “WeeGee” Fellig, you are good to go during the normal hours and don’t have to worry much about the exposure or focus. Street Photography at night poses other challenges in regards to your photography abilities.
While I love to shoot Street Photography during the day, I wouldn’t miss the opportunity nowadays to use the earlier arriving darker hours for Street Photography too. Night Street Photography opens up a lot of different opportunities to create visual stories, that I wouldn’t miss any second.
I would go even so far, that Night Street Photography has become my favorite and that my creative hunger at normal daytime has been sated. At normal hours, the locations I visit are very similar in regards to the atmosphere. In fact, I would say that there isn’t any particular atmosphere visible anyway.
While the sun can create certain highlights and is a lot of fun to play with, Street Photography at night opens up a whole new dimension for me.
The very same locations look like from a different world and the inspiration is on a whole new level.
Therefore I would recommend everyone to go out and shoot Street Photography at night. You might have some prejudice regarding your gear, safety or ideas, but I can reassure you that it is at least worth a try. Night Street Photography, has refueled my inspiration and influences me even during the day.
Advantages
Conditions during the day can change very quickly. One moment the sun is out and shining bright and at the other moment, clouds are ruining your previous setup.
During the night, such shifts don’t happen. It is dark and stays like that for a good amount of time. Apart from fog or rain, there isn’t much outer influence on the whole setting. This makes it very easy to plan your walk, for example, which equipment you might need, what shots you want to get and which settings work best for your camera.
The steady conditions of the night making a lot of things more easy to plan for. Did you spot a cool spot the day before but didn’t have your camera with you? No problem – come back the next day and get the shot you were looking for.
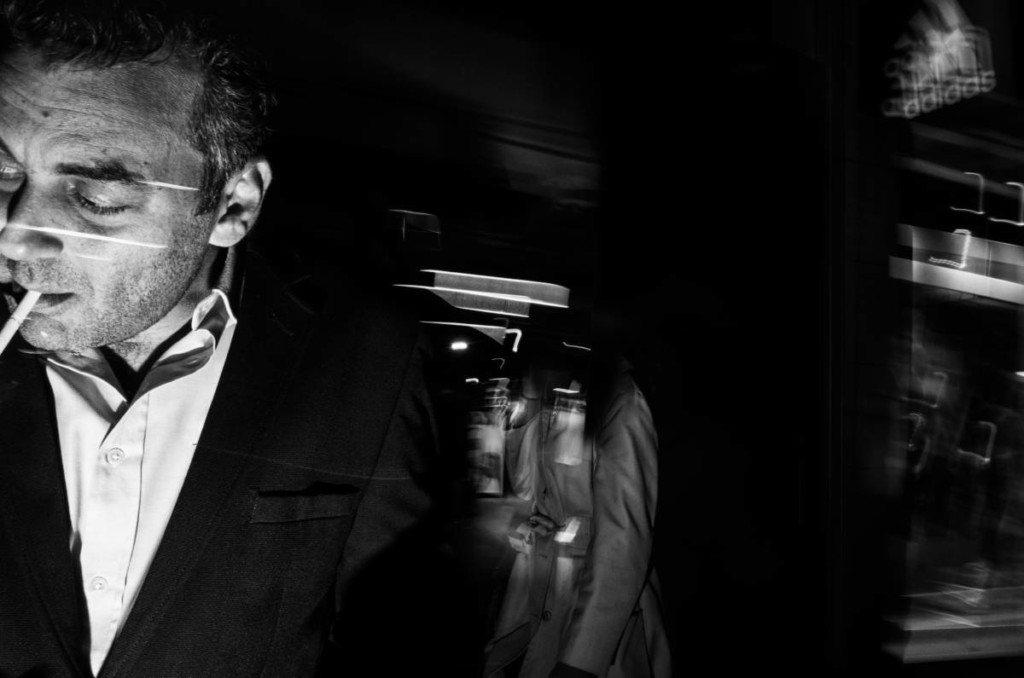
One thing I greatly notice is, that as a photographer I also have a lot more freedom to go unnoticed. Becoming Invisible is one goal I seek for during the day, but can be very difficult when people are very suspicious about cameras these days. When noticing the camera, they are smiling, turning away or behaving differently in general. This is not what I am looking for in Street Photography – not during the day nor during the night. I want to display true and candid people without being a major influence myself.
During the night it can be a lot easier to do Street Photography because my camera goes unnoticed for most of the time. This doesn’t mean that I try to hide away my gear at every cost. I try to still photograph relatively open, but mostly, people just have the opportunity to react after I already got my shot. Thus I can approach more closely while still getting real emotions.
If you are too afraid to photograph during the day, a walk on a well-visited street during the night might be the right approach for you, since you will be able to enjoy the freedom of being invisible for most of the time.
Night Street Photography gives me also more space to fulfill my creative visions.
Let’s compare the differences with the analogy of paintings.
During the day, the canvas is already filled and completed. As Street Photographers, we have the options to display the scenes in different ways, but in general, our options in “normal” light are kind of limited.
At night, the canvas is pretty much blank. We as Street Photographers have the opportunity to use the limited light sources to illuminate exactly what we are looking for. Instead of having everything well-lit, we are able to set the highlights ourselves. Do you want to create more atmospheric shots of shopping windows with people walking in front of them, or are you looking for bright neon signs? Street Photography at night gives you the opportunity to create a lot more versatile moods, depending on what you are seeking.
Light Sources
Obviously, the sun isn’t available for us at night. But this doesn’t mean that our pictures have to stay dark. Instead, we have to use the limited artificial light sources to our advantage.
If you are living in a very small suburb with little lighting at night, your options may be even more limited. Nonetheless, there are always possibilities for you to light the scene at night the way you want to.
Street Lights
Lanterns or Street Lights are your “standard” available light at night. Though they often aren’t very interesting or unique, they give you some light to work with. On the street, they often are very unspecific and I recognize them more as background noise than a characteristic I want to integrate into my pictures.
In darker areas though and when there aren’t too many lights, they can work very well and give you nice spotlight.
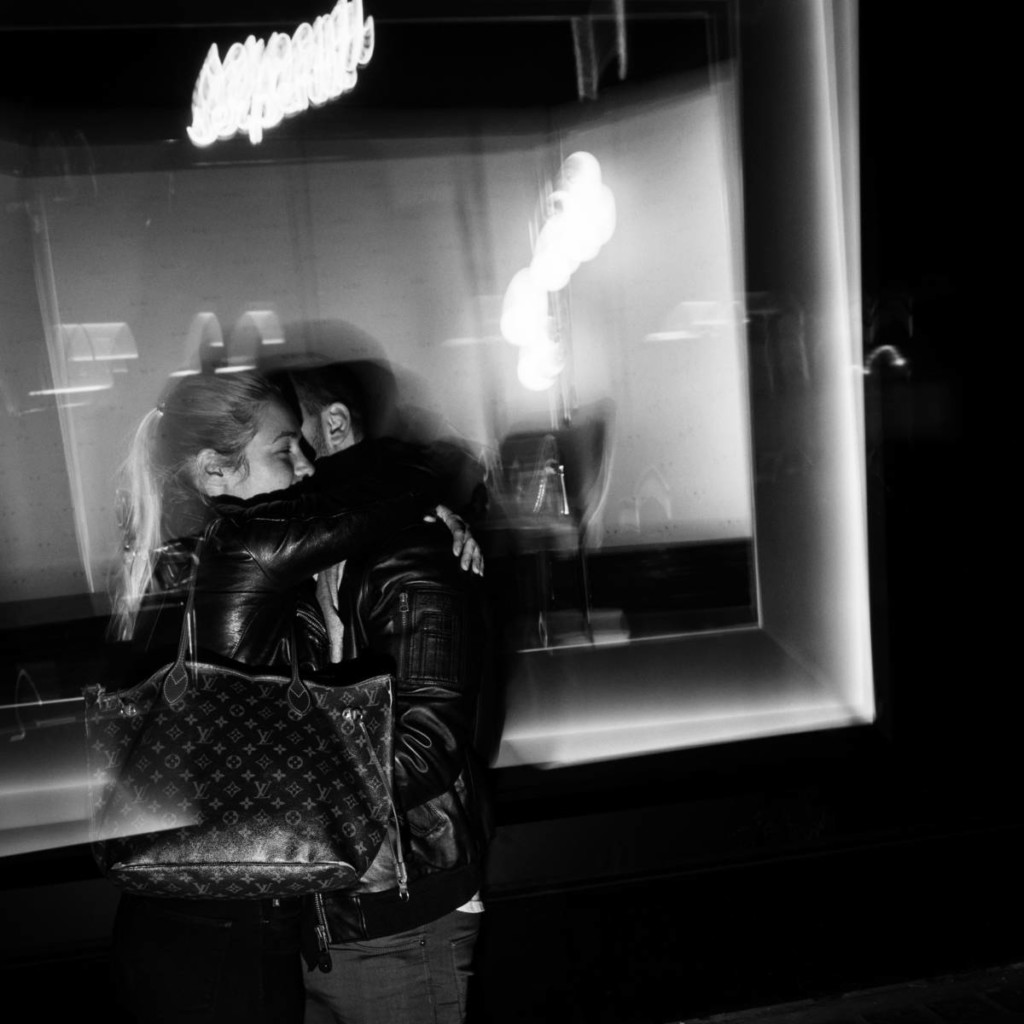
Shopping Windows at night
During their opening hours, or even at night some shopping windows can be very interesting to look at.
Especially when you have the opportunity to visit an extraordinary shopping street with different shops nearby, they can pose interesting pictures.
From my own perspective, the Berlin Ku’damm is one of the best places to visit at night time. The streets are filled with people and the shopping windows in the background give some excellent light.
Other than ordinary street lamps, shopping windows have more interesting decoration or light set-ups.
During the Christmas time, this becomes even more evident.

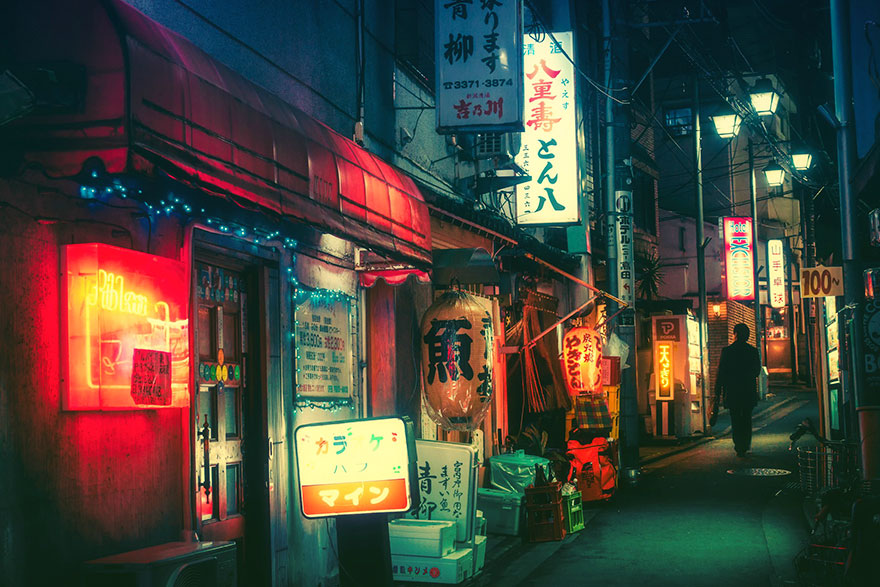
Neon Signs
Then there are also those neon signs floating in my head like they are in Las Vegas or Tokyo. Unfortunately, they aren’t very present in Berlin, but if you are lucky and are able to find some in your city, they can create a very “steampunk” atmosphere if you wish to do so.
To enhance the effect of neon signs you might also play around with some color grading in your post-processing routine.
Flash
Instead of relying on other light sources, you might also create the light yourself with the help of a flash. I am a huge fan of using a flash for Street Photography and have also written a guide before, helping you control the flashlight.
It might sound scary at first, to use the flash at night, because you believe that everyone will be angry and look at you. From my own experience, the flash at night isn’t a huge problem.
Okay, you raise more attention, but for a photographer, it is only reasonable to use a flash when it is dark outside.
With the help of an off-camera flash, you have a lot more variety in your creative arsenal. Long exposure and light rails, for example, are impossible at daytime.
Equipment
If you think that your equipment isn’t sufficient for night time Street Photography this is not true. You don’t need a big expensive DSLR with an outstanding ISO performance to capture great pictures at night.
My RicohGR II works perfectly at night and with the FujiX100F there are even more opportunities during the night.
I wouldn’t recommend a Smartphone, but other than that most common cameras should be very alright.
A tripod can be useful if you are looking to do long-exposure Street Photography at night, but not mandatory. Thanks to the image stabilization nowadays I can go as low as 1/20th of a second shot hand-held very comfortably and the image will be sharp.
In other aspects, night Street Photography is not much different in terms of equipment. I very much like to use the flash, but that’s mostly it. More differences lie in how to use the equipment, as you are not able to shoot the same way like during the day.
Settings
During the normal day hours, the settings are not much of a concern for me. I can go with an aperture of around f/8 to create a wider field of depth and make use of the zone-focus. Without the use of a flash, f/8 will be too close most of the time and would force you to use a very high-ISO.
I don’t mind noise in my pictures and embrace it with film emulation, but the digital noise due to a high-ISO is just aesthetically to me. Therefore I still try to go with the lowest ISO possible.
To achieve a potential low-ISO I rather open up the aperture. Depending on your gear you might use the maximum open aperture of your lens. Keep in mind though, that with a more open aperture comes a narrower depth of field, increasing the difficulties of focusing.
When it comes to focusing, the auto-focus is pretty much useless as most versions rely on light. Without available light, there will be a green auto-focus light that won’t help much during the night. Most likely, you will notice that the lens will move up and down endlessly without finding the right focus.
Since the auto-focus isn’t reliable during the night you have to focus manually. If you are going for the more fast-paced approach of Street Photography and want to get up-close, I recommend you to read my zone-focusing guide and rely on the pre-focused distance. For night Street Photography you will have to find your optimal combination of an open aperture and high ISO. Open the aperture as far as you get most shots in focus and raise the ISO to a point where the noise isn’t too distracting for you.
If you are more interested in a “slower” approach where you are able to search for interesting background and wait for people to enter the scene, you can also play with a slower shutter-speed to counter the high ISO. As stated before, going as slow as 1/20th of a second without a tripod should be fine. With an open aperture, the ISO should probably not be higher as 400 depending on the background light.
Using a flash, on the other hand, comes with a whole new different approach to the settings. Usually, I like to create long-exposure images with light trails. This means, that the shutter speed could go as slow as 1/5th of a second while maintaining an ISO of 100.
Inspirations
Atmospheric Night Street Photography
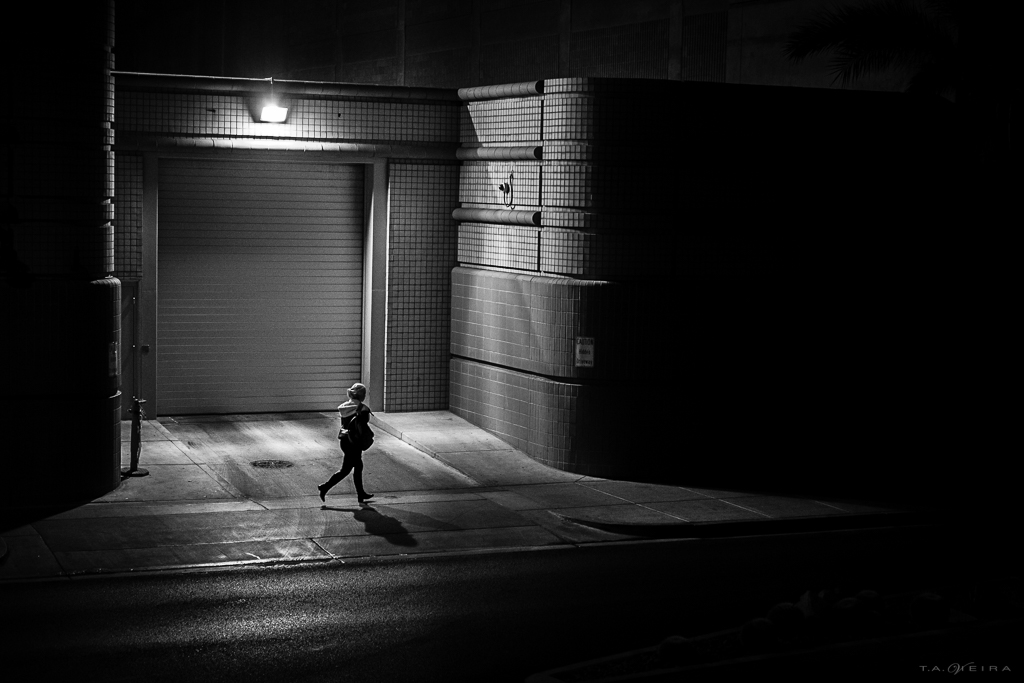
Search for a single light source that surrounds the image in a very mystic way and assess the negative space. This allows a lot of freedom for the viewer’s imagination.
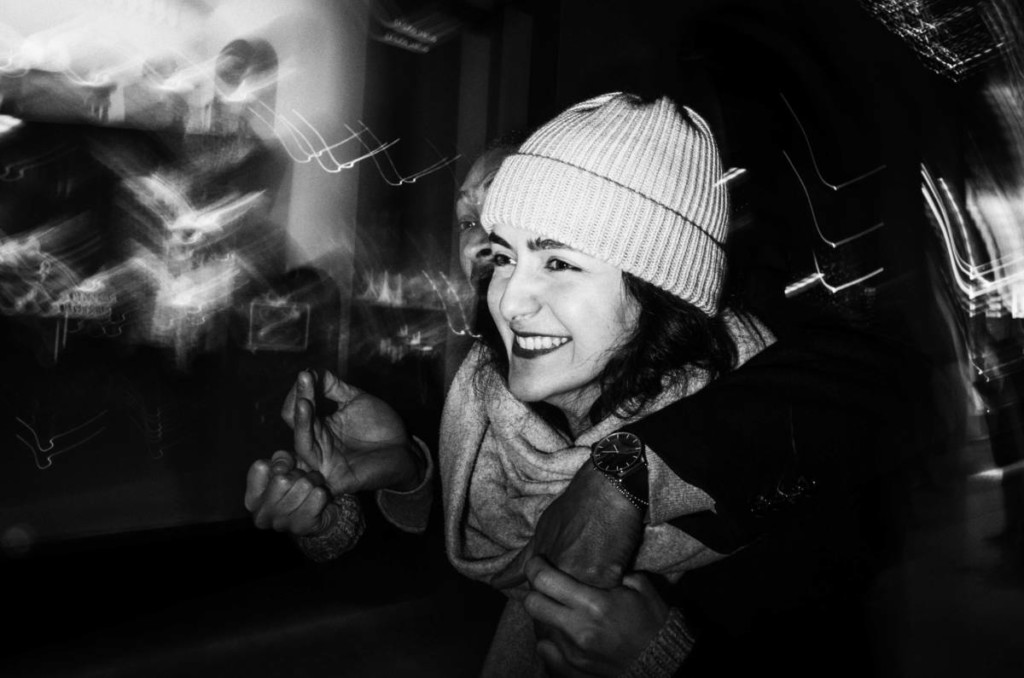
Vivid Photography at night
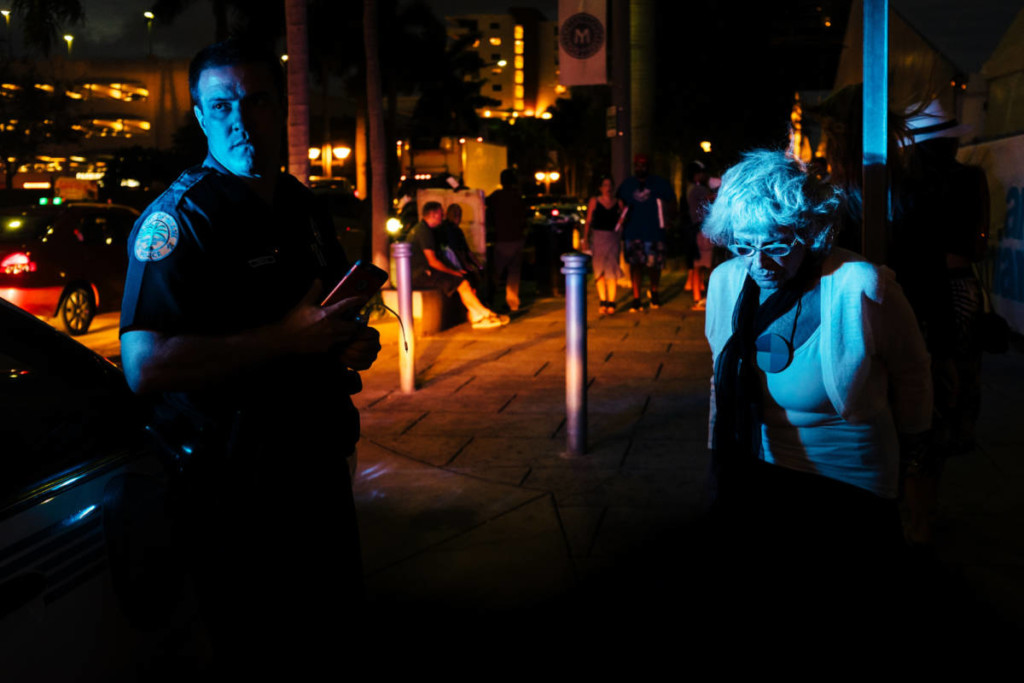
Street Photography at night doesn’t have to be melancholic or resounding dark emotions. There are other facets worth picturing as well. Bright lights and a lot of life on the street can cast a very positive atmosphere that shows that the street can be a happy place at night too. Find positive colors that help you emphasizing such image.
Embracing the Background in Street Photography at Night
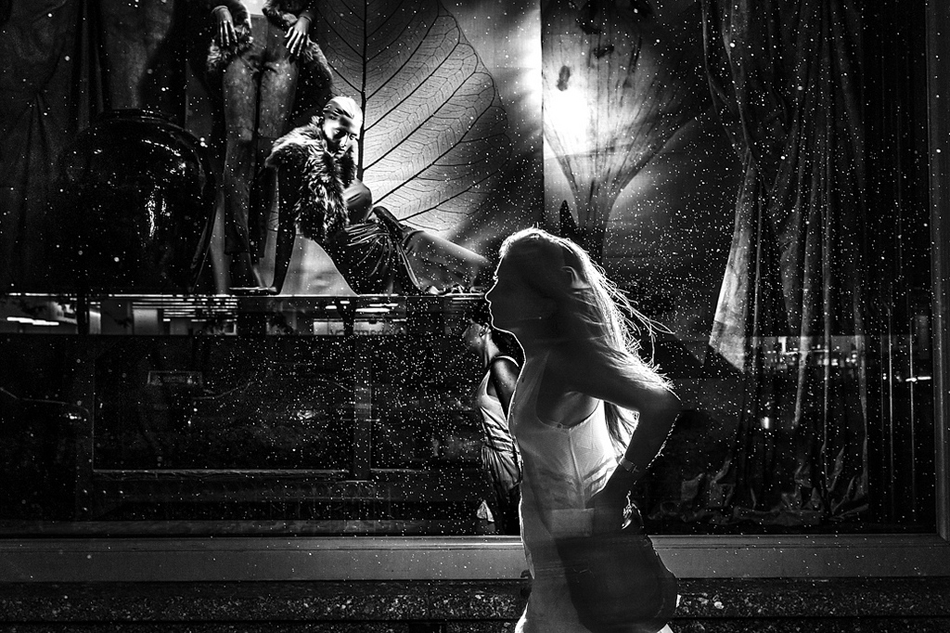
Adding to the shopping windows, you might find great juxtapositions or people that go well with the background. Find the background first, then wait for the right person to enter the frame.
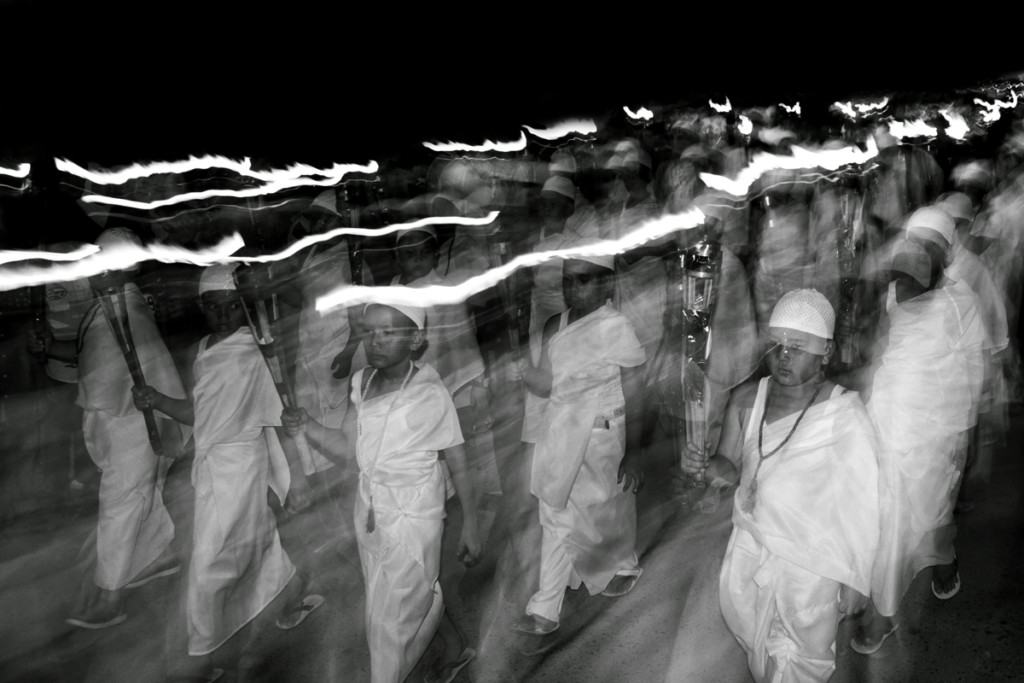
Light Trails
With light in the background and a flash in your hand, you can create light trails without a tripod during Night Street Photography. Illuminate the foreground with the flash and capture the background with a slow shutter-speed.
Tips for Night Street Photography
Pre-Focus
With little light left, you won’t be able to use the auto-focus efficiently. Instead, make use of the manual focus and set the lens to a specific distance beforehand.
Due to the darkness, you won’t be able to get your aperture as low as f/8. Something around f/5,6 is more realistic for you. Still, with the pre-focus set, anything around that distance will be sharp, no matter how dark it is.
Read also my guide on making use of the hyperfocal distance and zone-focusing.
Emphasize the Grain
Although digital noise is not my favorite, in low-light situations you often have no other choice than raising your ISO. Complementary to the higher ISO will be an increase in grain. Don’t try to “smoothen” the grain in post-processing afterward. Rather embrace the grain with a gritty black & white look.
You can also combine a gritty B&W photograph with a silver-efex preset to emulate more of a film look. It doesn’t work for every situation.
It doesn’t work for every situation though. When you are trying to capture colors at your Night Street Photography walk, then the gritty approach is not very effective. In this case, to reduce the grain try a slower shutter speed to minimize the noise.
Low-Key Clothing
Similar to the day-time, your clothing can make a difference in becoming more invisible on the street for street photography at night.
Even during the night, I would avoid wearing anything too eye-catching. Especially when you are working with a flash, reflecting clothing materials aren’t the best to stay low-key.
Get Attracted by Light
Searching for light sources or highlights in the background is key in atmospheric Night Street Photography. Every scene will turn out darker in your camera than you expect it to be.
Capturing pure darkness without any light to shine on some spots, will turn out in a grey mess. Contrasts and opposites are important during the night too.


